Introduction to Dirt Pudding Dessert Cups
There’s something incredibly comforting about a homemade dessert, and dirt pudding dessert cups perfectly capture that cozy feeling. This classic treat is more than just a fun name; it’s a delightful combination of creamy textures and chocolatey goodness that appeals to both kids and adults alike. But why do dirt pudding dessert cups reign supreme as a go-to homemade treat? Let’s dig in!
Uniting Fun and Flavor
At the heart of dirt pudding dessert cups lies a unique ability to bring people together. With just a handful of ingredients—like chocolate pudding, crushed cookies, and gummy worms—you can whip up a dessert that sparks joy at any gathering. It’s particularly appealing for birthdays, parties, and even casual get-togethers. Studies show that sweets can enhance social interactions, making this dessert not just a treat but a catalyst for connection.
Easy to Customize
One of the biggest advantages of dirt pudding dessert cups is their versatility. Whether you want to keep it simple or take it up a notch, the possibilities are endless:
- Flavor Combinations: Mix up your pudding with different flavors or even add a layer of whipped cream for extra richness.
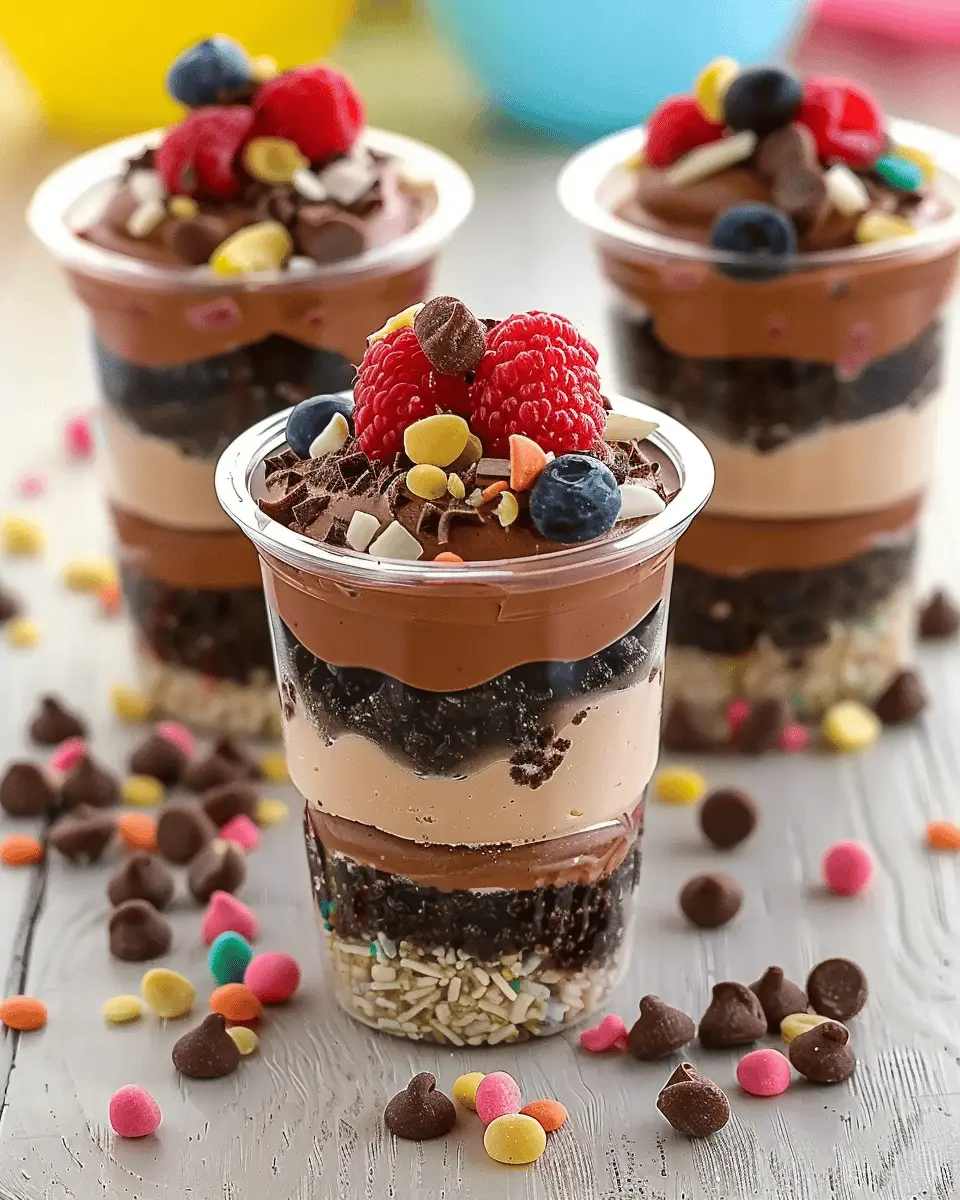
- Toppings Galore: Get creative with toppings—consider adding fruits, sprinkles, or even alternative sweets that cater to dietary restrictions.
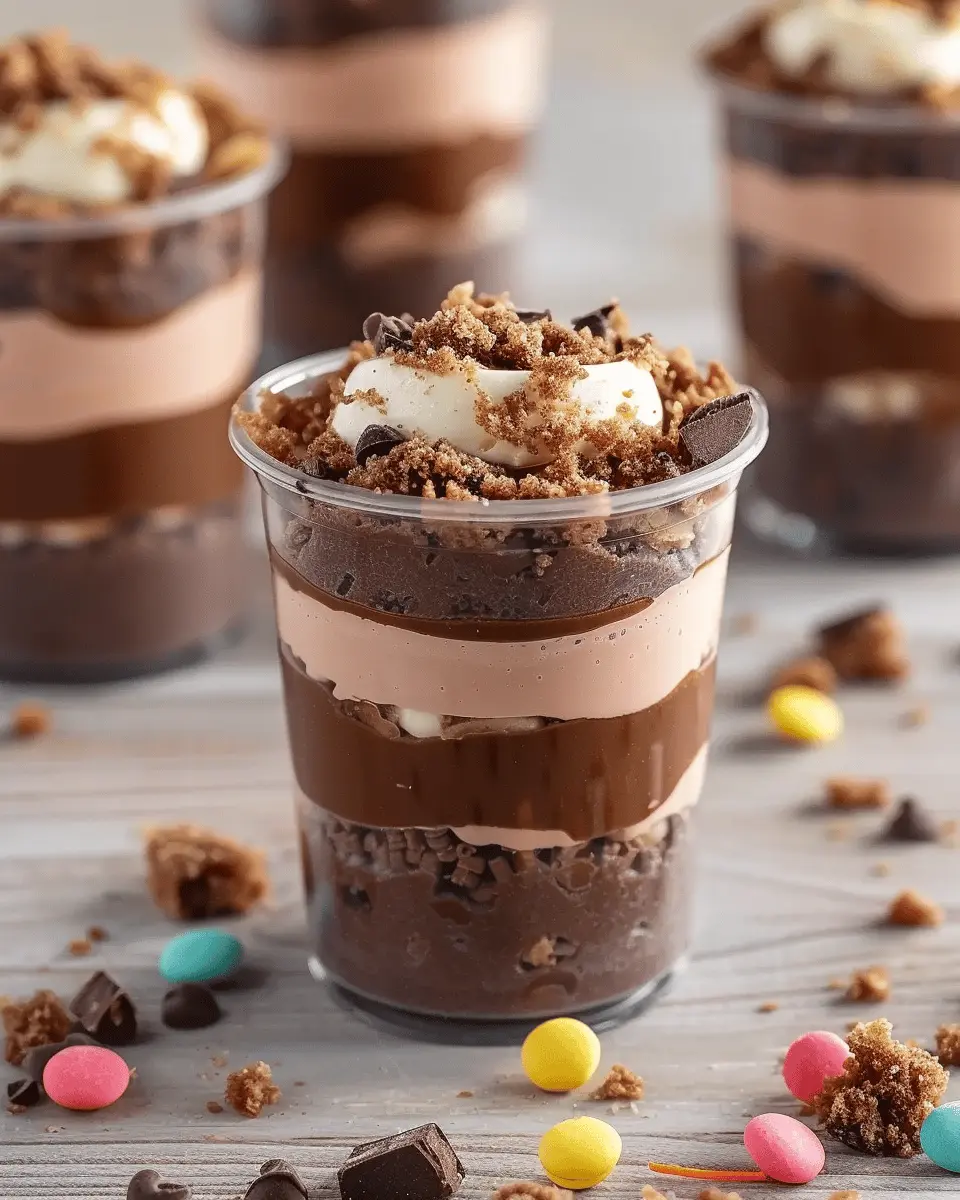
- Presentation Matters: Use fun cups or jars to elevate your dish visually. The layered look of the crushed cookies mimics dirt, while gummy worms poke out, giving it an adorable touch.
A Nod to Nostalgia
Many of us grew up enjoying this whimsical dessert, which often evokes sweet childhood memories. Remember how delightful it was to dig into a cup that looked like, well, dirt? That’s the beauty of dirt pudding dessert cups—they not only satisfy our sweet tooth but also transport us back to simpler times.
If you’re interested in the magic of creativity and nostalgia combined, check out sources like Food Network or AllRecipes for inspiration that complements this delightful dessert. Whatever your spin on dirt pudding dessert cups, they promise to offer a delightful experience both in taste and in memories.
Ingredients for Dirt Pudding Dessert Cups
Creating delightful dirt pudding dessert cups is easier than you might think! Let’s explore the core ingredients that bring this fun and nostalgic treat to life, along with some creative options to elevate your dessert experience.
Key ingredients you’ll need for this delightful dessert
To whip up your own batch of dirt pudding dessert cups, you’ll need:
- Chocolate instant pudding mix: This is the star of the show! Look for high-quality brands for the best flavor.
- Milk: Whole milk works wonders for a creamy texture.
- Cool Whip or whipped cream: For a fluffy topping, this is non-negotiable.
- Oreos: These crushed cookies provide that essential “dirt” texture and taste.
- Plastic cups: Perfect for individual servings and playful presentation.
Optional ingredients for added fun
Want to amp up the creativity? Here are some optional ingredients to consider:
- Gummy worms: They make the perfect whimsical addition that delights both kids and adults.
- Sprinkles: Use them to add a pop of color and extra crunch.
- Edible flowers: They offer a beautiful natural touch and make for stunning visuals.
For more dessert inspiration, check out this guide on making the perfect dessert cups to unlock your culinary creativity! Remember, the best part of making dirt pudding dessert cups is that you can customize them to suit your taste. What will you add?
Preparing Dirt Pudding Dessert Cups
If you’re looking for a fun and engaging dessert that brings out your inner child, you’ve landed on the right page. Dirt pudding dessert cups are not just delicious; they’re also a fantastic way to impress friends and family with a creative touch. Here’s how to whip up this delight step-by-step!
Gather Your Ingredients
Start your dirt pudding dessert cups adventure by making sure you have everything you need. Here’s a simple list:
- 1 package (3.9 oz) of instant chocolate pudding mix
- 2 cups of cold milk
- 1 container (8 oz) of whipped topping (like Cool Whip)
- 1 package (15 oz) of Oreo cookies (or a chocolate cookie of your choice)
- Gummy worms for that classic touch
- Optional toppings: chocolate sprinkles, edible flowers, or crushed nuts
With your ingredients ready, you’re all set to create something special. Quick tip: For a vegan version, substitute the whipped topping with a plant-based alternative and make sure your cookies are dairy-free.
Mix the Instant Pudding with Cold Milk
Grab a large mixing bowl and pour in the instant chocolate pudding mix. Next, add in the cold milk. Using a whisk, blend until smooth and creamy – about 2 minutes should do the trick. It’s important to ensure there are no lumps, as this will give your dessert a silky texture. If you want to learn more about the science of pudding, check out this guide on how pudding thickens from Food Science Central.
Fold in the Whipped Topping for Creaminess
Now comes the magic part. Carefully fold in the whipped topping with a large spatula into the pudding mixture. This will make your dirt pudding super creamy and light. Be gentle to maintain that airy texture; you only need to mix until it’s just combined—you don’t want to deflate the whipped topping.
Prepare Your Dessert Cups with Cookie Layers
Before assembling, take a moment to crush your Oreo cookies. You can do this by placing them in a ziplock bag and using a rolling pin or simply pulsing them in a food processor. You want a mix of fine crumbs and some bigger chunks for texture.
Take your dessert cups (clear cups or mason jars work beautifully here) and add a generous layer of the crushed cookies at the bottom. This layer not only adds flavor but also sets the stage for the delightful dirt pudding that will follow.
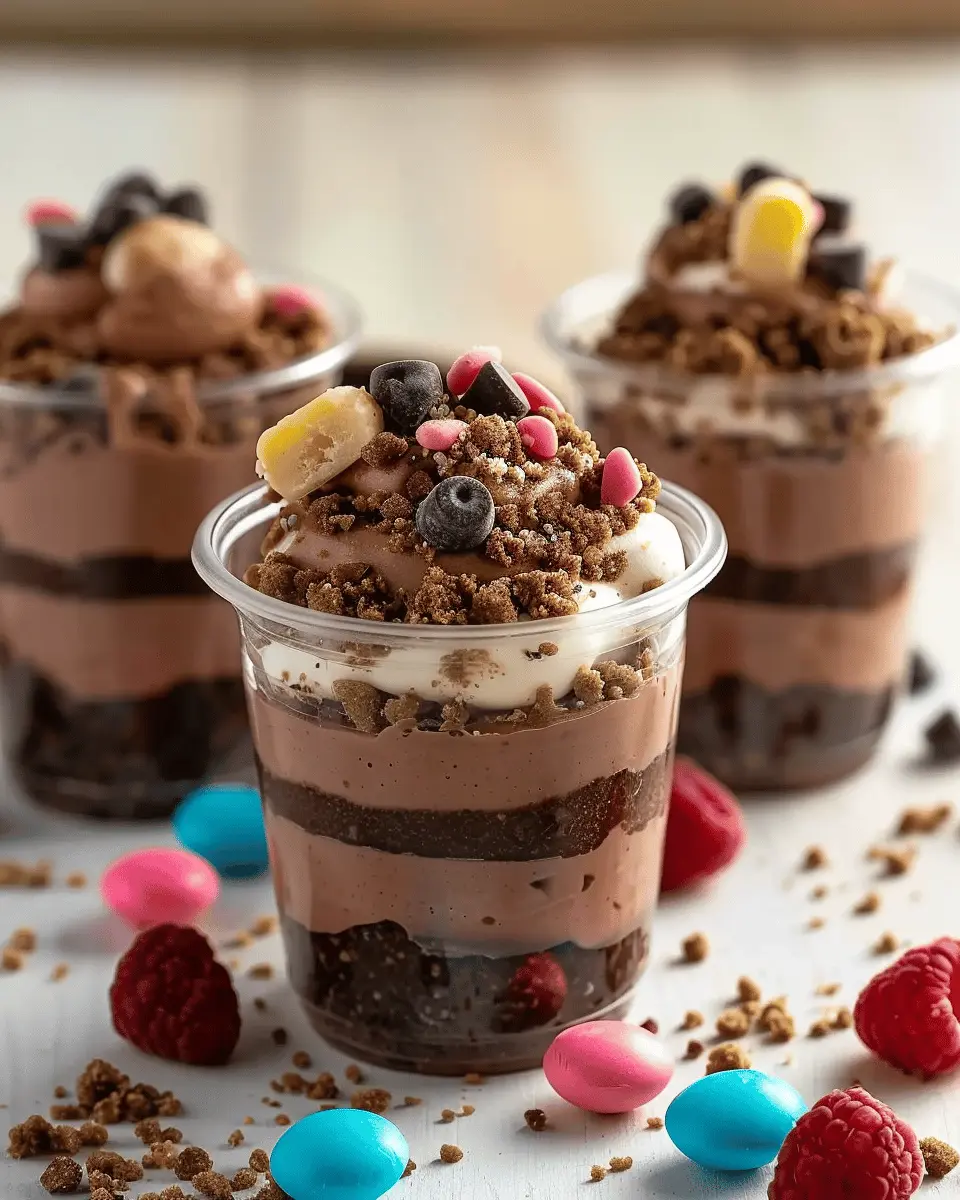
Assemble the Pudding Layers
Now comes the fun part! Carefully spoon in the creamy pudding mixture over the cookie layer in each cup. Aim for a layer that fills about halfway up, leaving room for more cookie goodness.
Repeat the layering process: add another layer of crushed cookies on top of the pudding, and then finish with a final scoop of the pudding mix. This build-up will create a stunning visual effect in your cups!
Top with Crushed Cookies and Gummy Worms
For the finishing touch, sprinkle the top of your dessert cups with even more crushed cookies. And of course, no dirt pudding dessert cups are complete without gummy worms. Drape these squiggly creatures over the top, as if they’re just enjoying the dirt!
Chill Before Serving
Place your completed dessert cups in the refrigerator for at least 1-2 hours. This chilling time allows the flavors to meld beautifully together. Plus, a cold dirt pudding is just more refreshing!
Once ready, serve your cups and watch as your guests marvel at the creativity and taste. Enjoy the smiles this simple yet delightful dessert brings!
These steps invite you on a gastronomic journey through nostalgia and sweetness, creating memorable moments with every bite. Happy indulging!
Variations on Dirt Pudding Dessert Cups
Classic Dirt Pudding with a Twist
While traditional dirt pudding dessert cups are unbeatable, consider adding a unique twist to surprise your taste buds. One fun idea is to incorporate layers of crushed caramel candies and a sprinkle of sea salt on top for that sweet-salty combo everyone loves. Or why not swap out regular Oreos for mint-flavored ones? This simple change can transform your dessert from classic to adventurous, offering a delightful mint-chocolate experience.
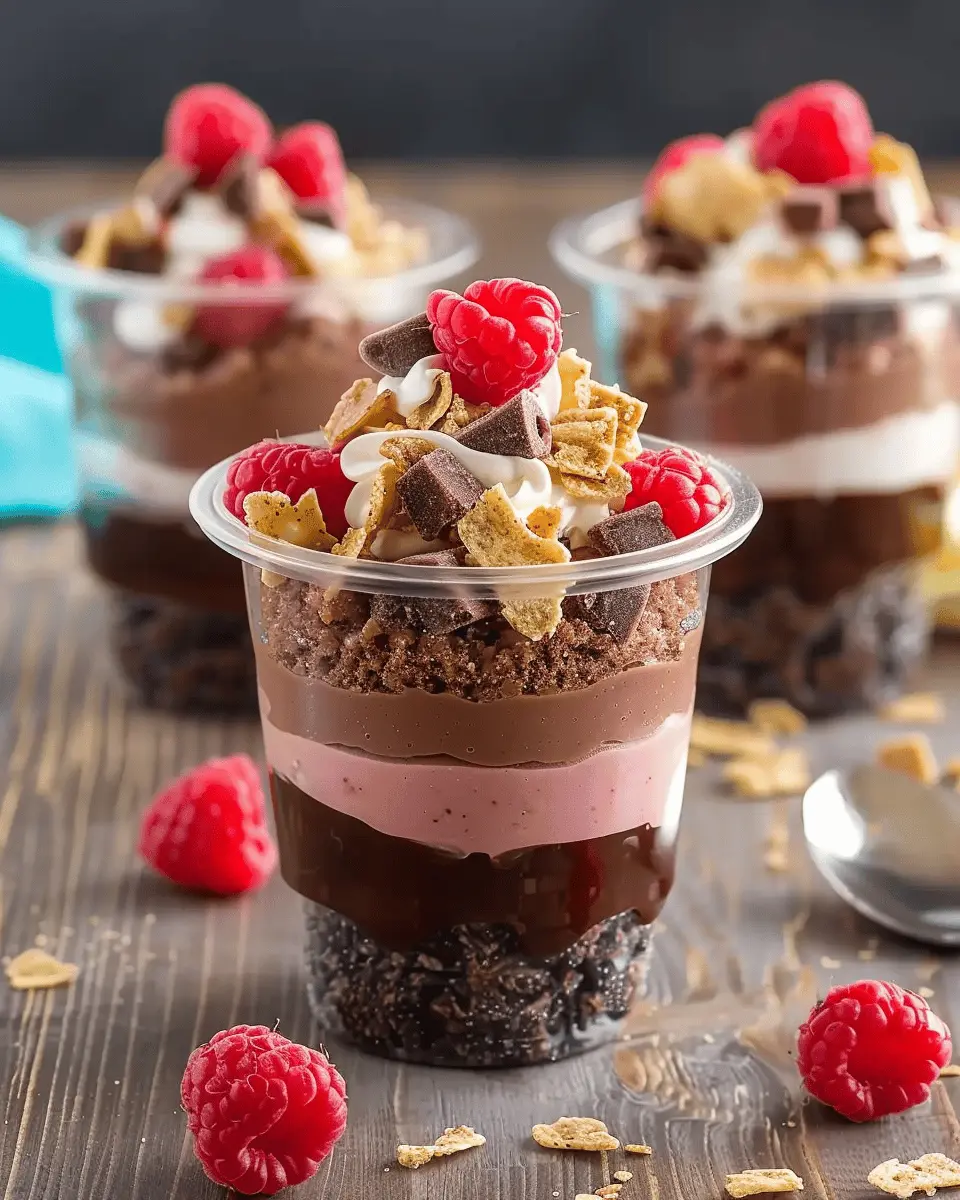
Add Fruit for a Fresher Kick
If you’re craving something lighter, adding fruit can elevate your dirt pudding dessert cups. Try layering in some fresh strawberries or raspberries for a burst of flavor. The sweetness of the berries beautifully contrasts the rich, creamy pudding, making each bite a harmonious blend of tastes. If you prefer a tropical twist, consider diced mango and a hint of lime zest. These fruity additions not only refresh the palate but also add a pop of color, making your dessert visually appealing too! For more insights on healthy dessert ideas, check out Healthline.
Vegan Alternatives for the Pudding Mix
For those following a vegan lifestyle, you don’t have to miss out on dirt pudding dessert cups. Using a plant-based pudding mix can replicate that classic creamy texture without the dairy. Just opt for almond or coconut milk instead of regular milk when preparing your pudding. You can also replace the whipped topping with coconut cream for a delightful, dairy-free option that retains that creamy indulgence. By making these easy swaps, you can enjoy a delicious, guilt-free treat that fits your lifestyle.
Each variation not only keeps things exciting but also adds a personalized touch to this beloved dessert. Explore these ideas and find your perfect combination!
Cooking Tips and Notes for Dirt Pudding Dessert Cups
How to achieve the perfect pudding consistency
When it comes to crafting the ultimate dirt pudding dessert cups, achieving a creamy and velvety pudding consistency is key. Start by using whole milk or cream for richness, and always chill your mixing bowl before whipping your cream or pudding mixture. This will help everything blend smoothly and evenly. For extra decadence, consider adding a hint of cream cheese to your pudding for that perfect richness. Make sure to sift your instant pudding mix to avoid lumps; nobody wants a grainy texture!
Choosing the right cup for that Instagram-worthy presentation
Presentation is everything in the world of desserts! For your dirt pudding dessert cups, opt for clear cups or mason jars to show off those rich layers—think of it as a delicious vertical garden. You might even consider adding small decorations like gummy worms or sprinkles on top for added fun and visual appeal. Plus, these cups are easy to stack, making them perfect for serving at parties (or just for your personal Instagram feed).
Remember, impressive desserts begin with attention to detail, so use fresh, quality ingredients from sources like King Arthur Baking or Ghirardelli for great flavors!
Serving Suggestions for Dirt Pudding Dessert Cups
Perfect occasions for serving these fun treats
Dirt pudding dessert cups are the ultimate crowd-pleasers for a variety of occasions! Think birthday parties, Halloween get-togethers, or even casual summer barbecues. The fun and whimsical appearance of these cups will undoubtedly bring a smile to everyone’s face—adults included! They’re easy to transport, making them perfect for potlucks or picnics. Plus, their layered look allows for creative presentation, which is always a hit at gatherings.
Pairing suggestions for a dessert buffet
When planning a dessert buffet, consider how your dirt pudding dessert cups can complement other treats. Here are some delicious pairing ideas:
- Fresh Fruit: Serve alongside seasonal berries or a fruit salad to balance out the richness and add a refreshing touch.
- Cookies and Brownies: Classic options like chocolate chip cookies or fudgy brownies provide a delightful contrast in texture.
- Ice Cream: A scoop of vanilla or chocolate ice cream can elevate your dessert table.
By curating a well-rounded dessert spread, you’ll ensure that your guests enjoy a variety of flavors and textures, making for an unforgettable culinary experience. For more fun ideas on dessert pairings, consider checking out Taste of Home for inspiration!
Time Breakdown for Dirt Pudding Dessert Cups
When it comes to enjoying dirt pudding dessert cups, understanding the time commitment can help you plan better. Here’s a simple breakdown to make your dessert preparation a breeze.
Preparation Time
Setting up these delightful dirt pudding dessert cups takes about 20-30 minutes. You’ll need to gather your ingredients, which include layers of creamy pudding, crushed cookies, and fun toppings. Don’t worry; the hands-on aspect is easy and fun!
Chilling Time
To get that perfect texture, allow your dessert to chill for 2-4 hours. This step is crucial as it lets the flavors meld together. You can even prep them the night before—who doesn’t love a make-ahead dessert?
Total Time
In total, you’re looking at roughly 2.5 to 4.5 hours from start to serve. With a little planning, you’ll have these charming cups ready to impress at any gathering. Want more dessert ideas? Check out this guide for a variety of delicious options to try!
Nutritional Facts for Dirt Pudding Dessert Cups
Calories per serving
When you indulge in a delightful cup of dirt pudding dessert, it’s essential to be aware of the calorie count. Each serving typically contains around 250-300 calories, depending on your choice of ingredients. It’s a rich treat, lovingly layered with crushed cookies, creamy pudding, and whipped topping. Perfect for sharing or enjoying solo!
Breakdown of sugar and fat content
Now, let’s dive deeper into the nutrition. These dirt pudding dessert cups can pack about 20-25 grams of sugar per serving, much of which comes from the instant pudding mix and toppings. The fat content generally hovers around 10-15 grams, primarily from buttery cookies and whipped cream. While these numbers may seem high, occasional treats like this can fit into a balanced diet—moderation is key!
For more on managing sugar intake, check out the American Heart Association’s guidelines.
Creating homemade versions can often help control these numbers, offering healthier substitutions to satisfy your cravings while keeping nutrition in mind.
FAQ about Dirt Pudding Dessert Cups
If you’re diving into the delightful world of dirt pudding dessert cups, you probably have a few questions in mind. Don’t worry; I’ve got you covered!
Can I make these a day in advance?
Absolutely! In fact, making your dirt pudding dessert cups a day in advance can enhance their flavor and texture. The creamy layers have more time to meld, creating a richer taste. Just remember to keep them covered in your refrigerator to maintain their freshness. If you’re planning for a gathering, this can save you valuable prep time on the day of the event.
What can I use instead of whipped topping?
If you’re not a fan of whipped topping, you can easily substitute it with homemade whipped cream. Simply whip heavy cream until it forms soft peaks, and sweeten it to your taste. You could also use Greek yogurt for a tangy twist or even dairy-free options like coconut cream for a vegan alternative. Customize your dirt pudding dessert cups to match your preferences!
How do I store leftover dirt pudding cups?
To store any leftovers, simply place the cups in an airtight container and refrigerate them. They should last for about 3-4 days, though I’m sure the sweet treat will disappear much faster! To maximize freshness, avoid adding gummy worms or decorative elements until you’re ready to serve.
If you’re ever in need of more dessert inspiration, check out additional resources like thekitchn.com for creative ideas! Enjoy your delightful dirt pudding dessert cups, and happy indulging!
Conclusion on Dirt Pudding Dessert Cups
In summary, dirt pudding dessert cups are a delightful treat that every young professional should try. Not only do they offer a whimsical presentation that’s perfect for sharing at gatherings, but their combination of rich flavors and textures makes them irresistibly satisfying. Plus, they’re incredibly easy to make, allowing you to indulge in a decadent dessert without spending hours in the kitchen.
Feel free to customize them with your favorite toppings or mix-ins to make them uniquely yours. Whether you serve them at a friendly get-together or keep them as a sweet personal treat, these dessert cups are sure to impress. So why not give them a try? You won’t regret it!
PrintDirt Pudding Dessert Cups: Easy, Fun Treats for Everyone

Dirt Pudding Dessert Cups are a delightful and easy treat that everyone will enjoy.
- Prep Time: 20 minutes
- Total Time: 20 minutes
- Yield: 4 servings 1x
- Category: Dessert
- Method: No-bake
- Cuisine: American
- Diet: Vegetarian
Ingredients
- 1 package Oreo cookies
- 1 package instant chocolate pudding mix
- 4 cups milk
- 8 ounces whipped topping
- 1 cup gummy worms
Instructions
- Crush the Oreo cookies into fine crumbs.
- In a bowl, whisk together the chocolate pudding mix and milk until thickened.
- Fold in the whipped topping gently.
- Layer the crushed Oreos and pudding mixture in cups.
- Add gummy worms on top for decoration.
Notes
- Feel free to add more layers for a taller dessert.
- Gummy worms can be substituted with other candies if desired.
Nutrition
- Serving Size: 1 cup
- Calories: 300
- Sugar: 25g
- Sodium: 150mg
- Fat: 15g
- Saturated Fat: 5g
- Unsaturated Fat: 7g
- Trans Fat: 0g
- Carbohydrates: 40g
- Fiber: 2g
- Protein: 4g
- Cholesterol: 20mg
Keywords: Dirt Pudding, Dessert, Easy Treats