Introduction to Pastel de Nata
What is Pastel de Nata and why you need to try it?
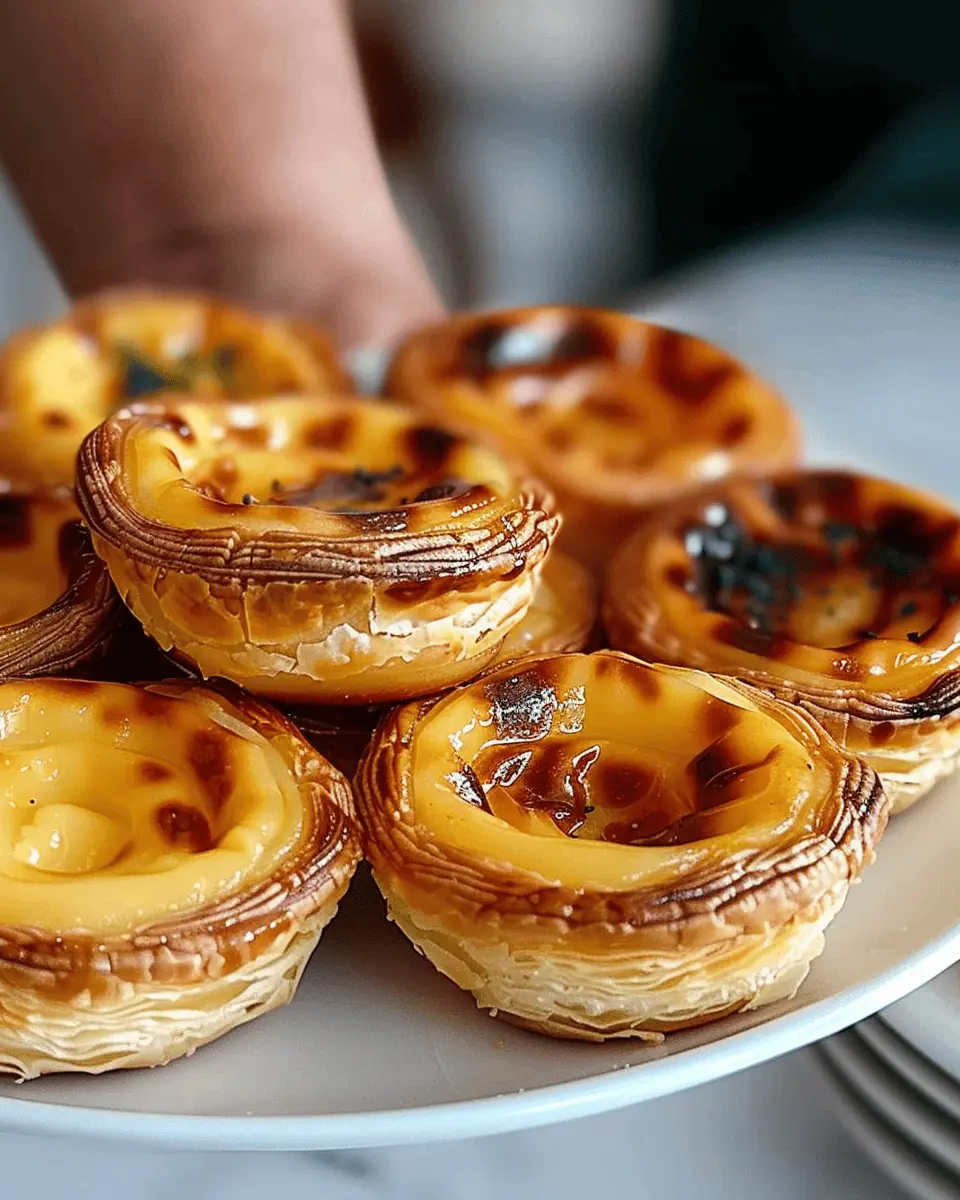
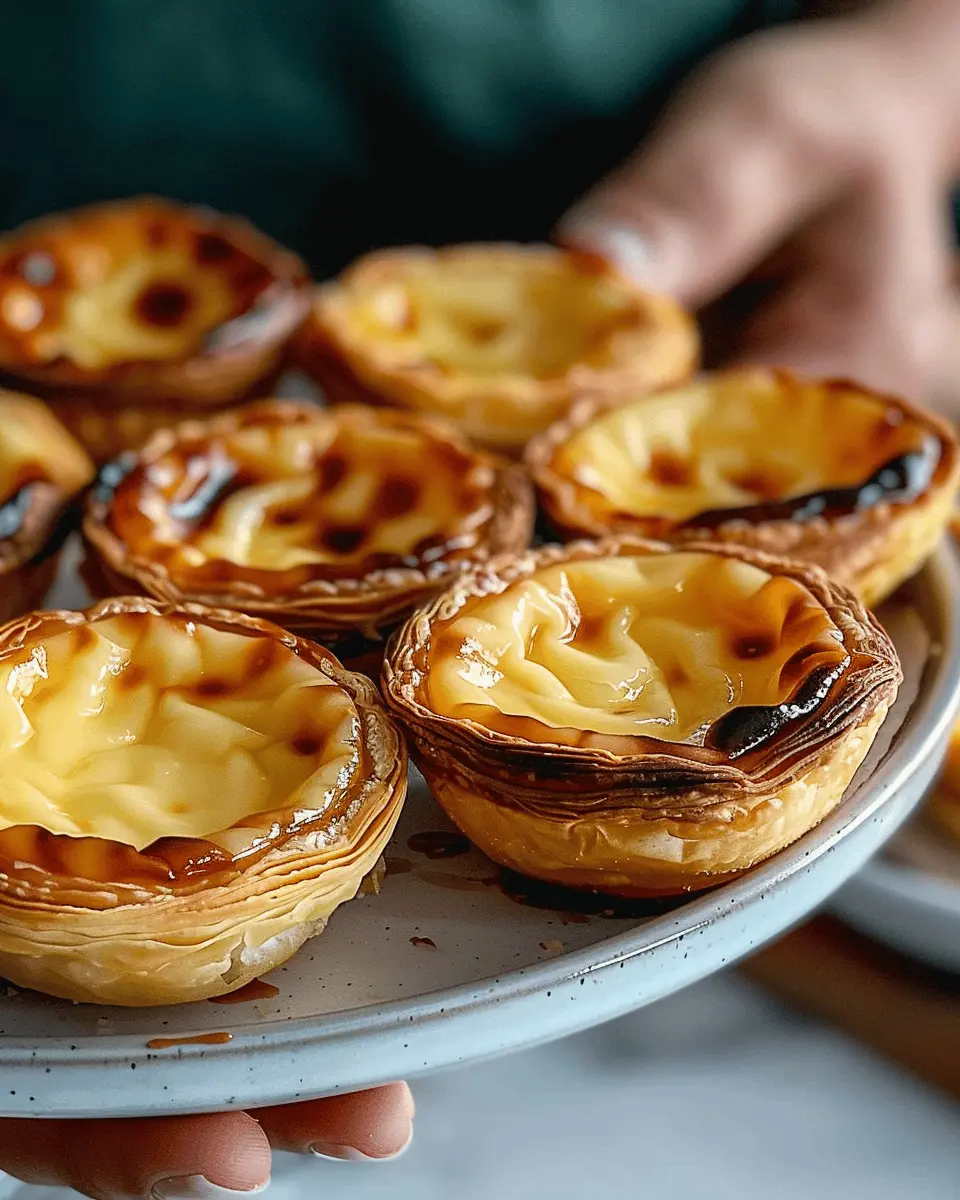
Ah, the Pastel de Nata. If you’ve never had the pleasure of sinking your teeth into this delightful Portuguese pastry, you’re in for a treat! This custard tart features a flaky crust filled with rich, velvety custard that’s perfectly caramelized on top. Its origin dates back to the 18th century in Lisbon, where it was created by Benedictine monks at the Jerónimos Monastery. It’s no wonder this pastry has transcended borders and become a beloved dessert worldwide.
So, why should you take a moment to whip up a pastel de nata recipe? Well, for starters, these tarts are ridiculously delicious! The contrasting textures of the crispy crust and creamy filling create a harmony that’s simply irresistible. Plus, they come together with simple ingredients you likely already have in your pantry.
- Rich Flavor: The hint of vanilla and a sprinkle of cinnamon take the flavor to the next level.
- Cultural Experience: Making Pastel de Nata at home allows you to dive into Portuguese culture, broadening your culinary horizons.
- Impress Your Friends: Whether you’re hosting a brunch or just want to treat yourself, these tarts will definitely impress!
But don’t just take my word for it—experts agree that creating food at home not only nurtures your cooking skills but can also provide a sense of satisfaction from crafting something delicious. According to a study from the American Psychological Association, cooking can reduce stress and boost your mood. Who doesn’t want that?
What’s more, local cafes often charge a premium for these delightful pastries, making homemade versions not only a fun project but also a cost-effective one. By preparing your own Pastel de Nata, you save money and enjoy a fresher product. It’s a win-win situation!
Ready to embark on this delectable journey? Grab your ingredients, and let’s explore the world of Pastel de Nata together! Be sure to check out some cooking tips to get the best results.
Ingredients for Pastel de Nata
Creating the perfect pastel de nata is all about quality ingredients. Let’s break down what you need to make these delicious Portuguese custard tarts.
Pastry Ingredients
For the pastry, you’ll need:
- Unsalted butter: 200g, chilled and diced for that rich flavor.
- All-purpose flour: 250g, the backbone of your pastry.
- Cold water: Just enough to bring the dough together, about 60ml.
- Salt: A pinch to enhance the flavors.
A while back, I remember making this at home, and pro tip: using cold ingredients helps create that flaky texture we all love.
Custard Filling Ingredients
Now, onto the velvety custard filling, which really makes this pastel de nata recipe shine:
- Heavy cream: 250ml, for creaminess.
- Milk: 100ml, whole milk works best.
- Granulated sugar: 100g, adjust to your sweetness preference.
- Cornstarch: 20g, to give that custard a perfect texture.
- Eggs: 3 large, the heart of the custard.
- Vanilla extract: 1 teaspoon, or even a vanilla pod if you’re feeling gourmet.
Gather these ingredients, and you’re one step closer to delighting your taste buds. Remember, quality matters here, so consider sourcing organic eggs or fresh cream from local suppliers. You can learn more about ingredient sourcing from sites like Food52 for great tips. Happy baking!
Preparing Pastel de Nata
Making your own pastel de nata can be a delightful experience, a culinary journey that brings a taste of Portugal right into your kitchen. Let’s walk through the steps together so you can create these irresistible custard tarts.
Thaw and Roll the Pastry
To start, you’ll need some high-quality puff pastry for your pastel de nata recipe. If you’ve bought frozen pastry, make sure to give yourself enough time to properly thaw it—usually, a few hours in the fridge will do. Here’s how to prep it:
- Unroll the pastry on a lightly floured surface.
- Using a rolling pin, roll it out to ensure it’s thinner and extends a bit larger than a standard tart tin.
- Cut out circular pieces that will fit snugly into your tart molds. A coffee cup can work well if you don’t have a cookie cutter.
After molding the pastry into the tins, try to ensure they not only look great but also have a nice rise when baked. Which reminds me—did you know that the flaky layers of puff pastry come from the way the dough is handled? It can be quite fun to watch them puff up in the oven.
Prepare the Custard Base
The heart of the pastel de nata is undoubtedly its creamy custard filling. To create this, gather your ingredients:
- Milk (preferably whole for richness)
- Sugar
- Cornstarch
- Vanilla extract
- Zest of a lemon
In a saucepan over medium heat, combine the milk, sugar, and cornstarch. Stir continuously to prevent lumps from forming. Once it starts to thicken, add a hint of vanilla and lemon zest for that signature flavor. This step is crucial, as it elevates your pastel de nata from ordinary custard to something truly special.
For expert advice on making the perfect custard, you might want to check out Serious Eats or BBC Good Food.
Whisk the Egg Yolks
Egg yolks are what give your custard that rich, golden color and velvety texture. Here’s how to properly incorporate them:
- Separate the yolks from the whites—save the egg whites for another recipe or some fluffy meringues!
- In a bowl, beat the yolks gently, then add them to your thickened custard mixture off the heat. This allows the eggs to blend without scrambling.
This step is such a visual delight as you watch the colors meld together. Just be cautious; you want to mix thoroughly but gently to ensure a smooth custard.
Assemble the Tarts
You’re almost there! Now comes the fun part—assembling your pastel de nata.
- Take your pastry shells and fill each one with the custard, leaving a little room at the top. This will allow them to puff up and brown beautifully in the oven.
- For an authentic touch, you can sprinkle a little cinnamon or nutmeg on top before baking.
As you layer everything together, take a moment to appreciate the aromas wafting from your kitchen. Are you ready to bake?
Bake to Perfection
Place your assembled tarts in a preheated oven, ideally around 200°C (392°F).
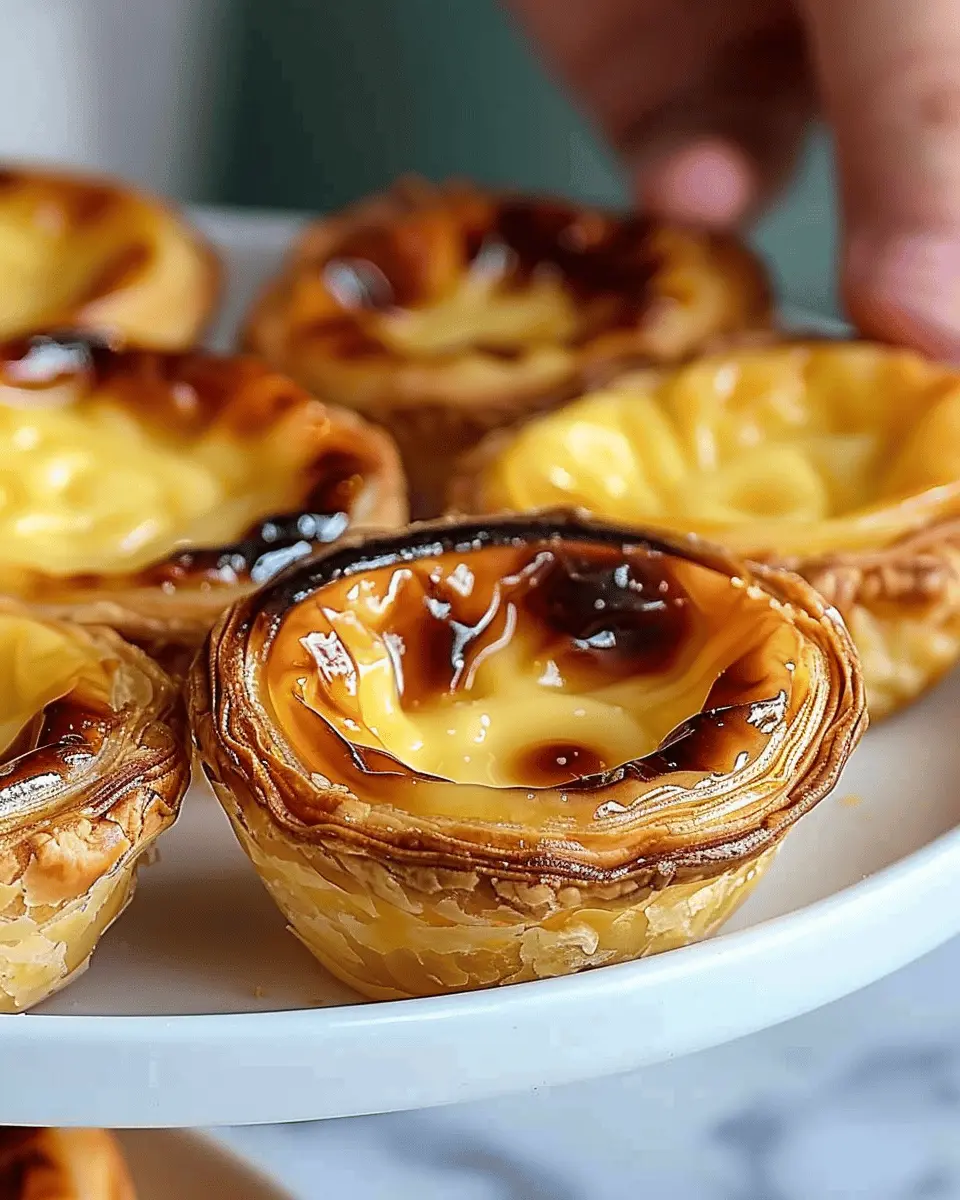
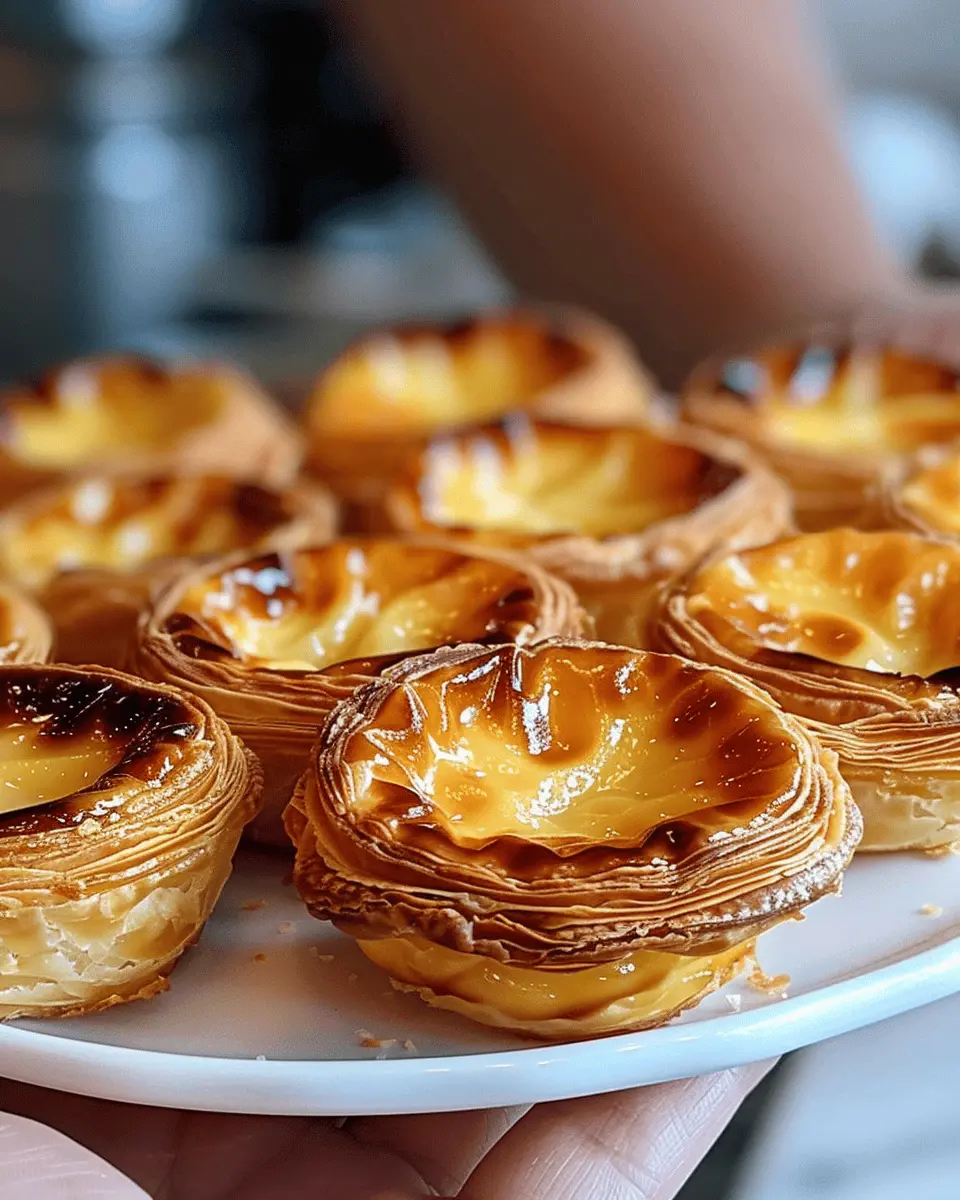
- Bake them for 20-25 minutes until the custard is set and the tops are golden and slightly charred. This charring gives that classic crispy finish that everyone loves.
After baking, let your pastel de nata cool in the tins for a few minutes before transferring them to a wire rack. Allowing them to cool a bit helps them hold their shape and enhances the flavor as they settle.
As you dig into your homemade pastel de nata, remember it’s not just about the taste; it’s about the experience! Making these classics at home allows you to share a piece of Portugal with friends and family—and what better way to celebrate life’s small moments? Enjoy!
Variations of Pastel de Nata
When it comes to the classic pastel de nata recipe, creativity knows no bounds! This delightful Portuguese custard tart can easily be adapted to suit various tastes and dietary needs. Let’s explore some tantalizing variations that will surely impress your friends and family.
Vegan Pastel de Nata
For those following a plant-based lifestyle, making a vegan version of this beloved treat is not just possible—it’s delicious! Here’s how you can adapt the traditional recipe:
- Substitutes: Use coconut milk or almond milk to replace regular dairy. For the eggs, a combination of cornstarch and silken tofu works beautifully as a thickener, offering that creamy texture you crave.
- Sweeteners: Consider maple syrup or agave nectar instead of sugar for a natural touch.
- Pastry: Many store-bought puff pastries are now vegan-friendly, but you can also create your own using flour, vegan butter, and cold water.
Remember, a vegan pastel de nata doesn’t compromise on flavor, allowing you to enjoy its deliciousness guilt-free! Try this recipe over at Minimalist Baker.
Fruit-filled Pastel de Nata
Want to take your pastel de nata recipe to the next level? Add a burst of flavor with fruit fillings! Here’s how:
- Fruits to Consider: Think beyond the custard and incorporate fresh fruits like berries, figs, or even tropical fruits like pineapple for an exotic twist.
- Preparation: Simply layer fruit at the bottom of your tart before adding the custard filling. This not only adds flavor but also enhances the visual appeal!
Experimenting with fruit can elevate your pastel de nata from a standalone treat to a sensational dessert that’s great for gatherings. Have fun with your creations!
Whether you’re sticking to the traditional route or exploring these delightful variations, each pastel de nata baked with love will surely bring joy to anyone who takes a bite. Happy baking!
Cooking Tips and Notes for Pastel de Nata
Ensure Perfect Puff Pastry
Achieving perfect puff pastry is essential for your pastel de nata recipe. Here’s how to do it:
- Chill Everything: Make sure your butter and water are cold. This helps to create those beautiful layers.
- Roll and Fold: Practice the classic folding technique—roll it out, fold it into thirds, and repeat. This adds air pockets that will puff up during baking.
- Rest Time: Give your pastry time to rest in the fridge; this relaxes the gluten and makes it easier to roll.
For more guidance on puff pastry, check out King Arthur Baking for expert tips.
Mastering the Custard Consistency
The custard filling makes your pastel de nata truly shine. Here are some tips to nail that creamy texture:
- Use Egg Yolks: Stick to yolks for a richer flavor and creamy consistency.
- Temperature Control: Heat your milk gently and avoid boiling. Gradual heating ensures a smooth custard without curdling.
- Strain for Smoothness: Always strain your custard mixture before pouring it into the pastry shells. This removes lumps and yields that velvety finish.
By following these tips, you’ll elevate your pastel de nata, ensuring they’re as delightful as the ones found in Lisbon.
Serving Suggestions for Pastel de Nata
Pairing with Coffee or Tea
One of the best ways to enjoy your pastel de nata recipe is with a warm cup of coffee or your favorite tea. A robust espresso brings out the rich flavors of the custard, while the slight bitterness cuts through the sweetness perfectly. If you lean towards tea, a fragrant Earl Grey or a warming chai can complement the pastry beautifully. It’s like a cozy hug on a plate!
Garnishing Ideas
Elevate your pastel de nata with creative garnishes. A sprinkle of powdered sugar adds a sweet touch, while a dash of cinnamon or nutmeg can enhance the warm flavors. Consider topping each tart with fresh berries or a dollop of whipped cream for that extra indulgence.
For a more adventurous flair, try drizzling honey or caramel over the top. This personal twist can make your desserts feel unique and memorable. If you’re feeling artistic, arrangements can create a visually stunning dessert display that’s sure to impress your guests!
For more ideas on garnishing desserts, you might find inspiration in this Whimsical Dessert Trends article.
Time Breakdown for Pastel de Nata
When you set out to master the pastel de nata recipe, it’s helpful to have a clear idea of how your time will be spent. Let’s break it down:
Preparation Time
You’ll need about 30 minutes to prep your ingredients and dough. This includes measuring, mixing, and allowing your puff pastry to relax a little. It’s the time to get your kitchen smelling delicious!
Baking Time
After the prep, your pastries will need approximately 20 minutes in the oven. Keep an eye on them as they bake; you want that perfectly golden crust that’s signature to a great pastel de nata.
Total Time
In total, you’re looking at around 50 minutes. While that sounds quick, take a moment to appreciate the process. Making these treats is a delightful way to spend your afternoon! Ready to dive in? Check out this tutorial for tips on creating the flakiest pastry.
Nutritional Facts for Pastel de Nata
When you indulge in a pastel de nata, it’s good to know a bit about what you’re enjoying. Passionately crafted with the perfect flaky crust and creamy custard filling, these delightful treats come with some nutritional highlights.
Calories
A typical pastéis de nata contains about 200 calories. While this might seem a bit indulgent, remember, it’s all about moderation!
Carbohydrates
Each sweet pastry has approximately 22 grams of carbohydrates. These primarily come from the crust, making it a delightful treat that can be enjoyed during special moments.
Sugars
On the sweeter side, a pastel de nata includes around 10 grams of sugar. If you’re trying to reduce sugar intake, consider enjoying these pastries sparingly, perhaps as a reward for a week well-spent!
For more information on portion control and how to balance your diet while enjoying treats, check out The American Heart Association. These nutritious insights allow you to savor your pastel de nata recipe while keeping your health in mind!
FAQ About Pastel de Nata
Can I use store-bought pastry?
Absolutely! If you’re short on time or just want to simplify the process, store-bought pastry is a great option for your pastel de nata recipe. Many grocery stores offer high-quality puff pastry that can deliver very tasty results. Just be sure to roll it out a bit for a thinner layer, and it’ll be ready to embrace that creamy custard filling.
How do I store leftover Pastel de Nata?
If you find yourself with extra pastel de nata, storing them correctly is key to preserving their flaky goodness. Here are some tips:
- Cool Completely: Allow your pastries to cool completely before storing to avoid creating moisture.
- Airtight Container: Place them in an airtight container at room temperature if you plan to enjoy them within two days. If you’re keeping them longer, the fridge is a better option.
- Enjoy Quickly: For the best taste and texture, try to consume any leftovers within a few days; they’re best fresh!
For detailed storage methods, you might want to check The Kitchn’s guide.
Can I freeze Pastel de Nata?
Yes, you can freeze pastel de nata! Here’s how:
- Pre-Freeze: Place the cooled pastries on a baking sheet and freeze them for a couple of hours. Once solid, transfer them to a freezer-safe bag or container.
- Thawing: When you’re ready to enjoy them, simply thaw them in the fridge overnight and then warm them in a preheated oven for a few minutes to regain their crispiness.
Freezing is a fantastic option if you want to batch-cook your pastries! Just remember, the taste and texture are always best when enjoyed fresh. What are your favorite ways to enjoy pastel de nata?
Conclusion on Pastel de Nata
Why Pastel de Nata is Worth the Effort
Creating a pastel de nata recipe may seem daunting, but the rewards are unparalleled. This Portuguese pastry is a delightful combination of flaky crust and creamy custard that simply melts in your mouth. Imagine the joy of sharing these golden delights with friends or enjoying them during a cozy evening at home. The process allows you to cultivate your baking skills while indulging in a treat that’s a real crowd-pleaser.
Taking the time to learn this recipe not only adds a unique dessert to your repertoire but also brings a taste of Portugal straight to your kitchen. So, grab those ingredients and get ready for a memorable baking adventure! If you’re curious to dive deeper into the history and variations of this treat, check out Food52’s guide for an inspiring read. Remember, the most rewarding recipes come from the heart!
PrintPastel de Nata Recipe: Easy and Indulgent Custard Tarts at Home

This Pastel de Nata recipe will guide you through making easy and indulgent custard tarts at home.
- Prep Time: 20 minutes
- Cook Time: 20 minutes
- Total Time: 40 minutes
- Yield: 12 tartlets 1x
- Category: Dessert
- Method: Baking
- Cuisine: Portuguese
- Diet: Vegetarian
Ingredients
- 1 package puff pastry
- 1 cup heavy cream
- 1 cup whole milk
- 3/4 cup granulated sugar
- 1/4 cup cornstarch
- 6 large egg yolks
- 1 teaspoon vanilla extract
- 1/2 teaspoon ground cinnamon
Instructions
- Preheat the oven to 400°F (200°C).
- Roll out the puff pastry and cut it into circles to fit your muffin tin.
- In a saucepan, combine heavy cream, whole milk, and sugar over medium heat, stirring until the sugar dissolves.
- In a bowl, whisk together cornstarch and egg yolks. Slowly add the warm milk mixture to the yolks while whisking continuously.
- Return to the saucepan and cook until thickened. Remove from heat and stir in vanilla and cinnamon.
- Pour the custard into the pastry shells and bake for 15-20 minutes or until the tops are golden.
- Let cool slightly before serving.
Notes
- For best results, use chilled pastry dough.
- You can sprinkle powdered sugar before serving for added sweetness.
Nutrition
- Serving Size: 1 tart
- Calories: 220
- Sugar: 10g
- Sodium: 150mg
- Fat: 15g
- Saturated Fat: 9g
- Unsaturated Fat: 5g
- Trans Fat: 0g
- Carbohydrates: 22g
- Fiber: 1g
- Protein: 3g
- Cholesterol: 150mg
Keywords: Pastel de Nata, custard tarts, dessert recipes, Portuguese pastry