Introduction to Mummy Brownies
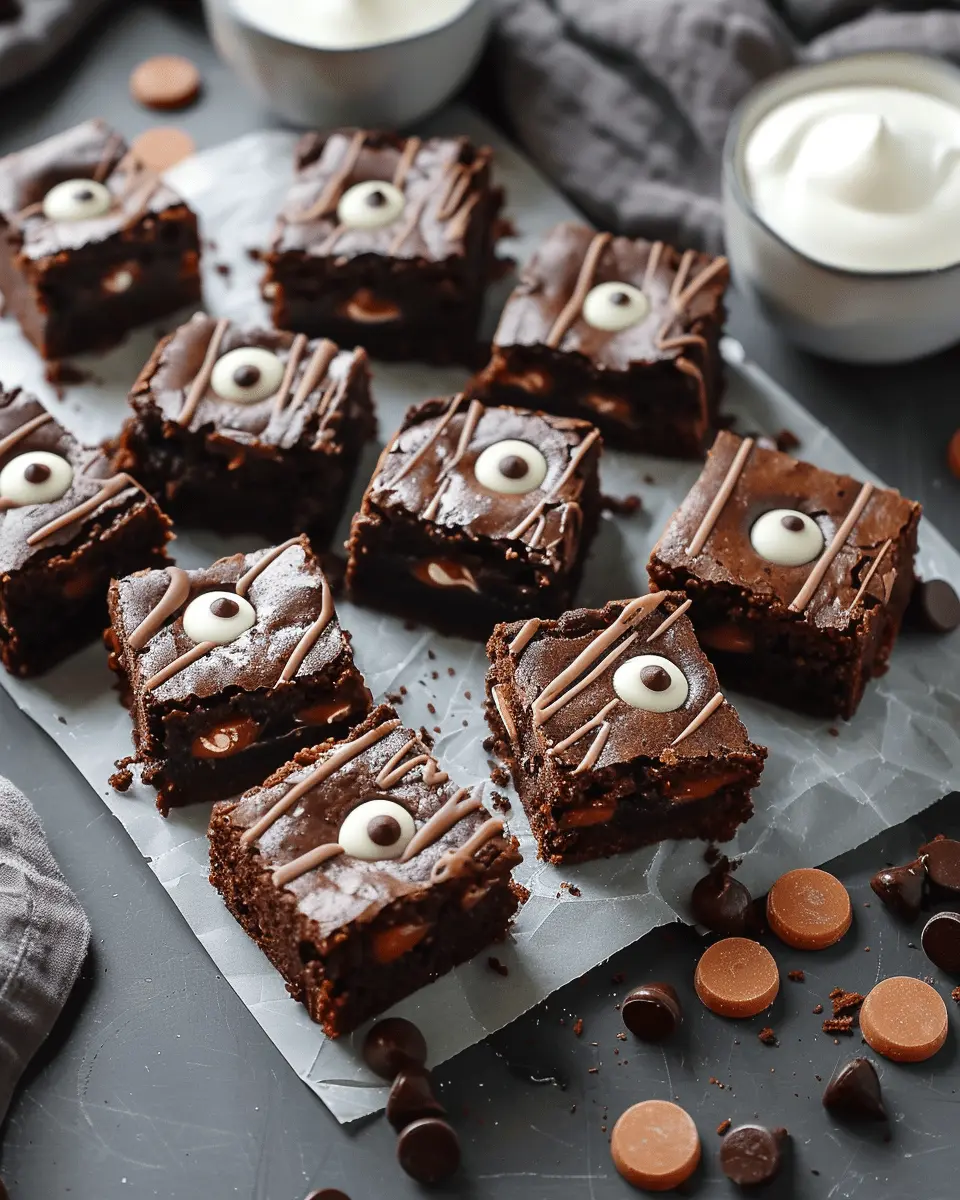
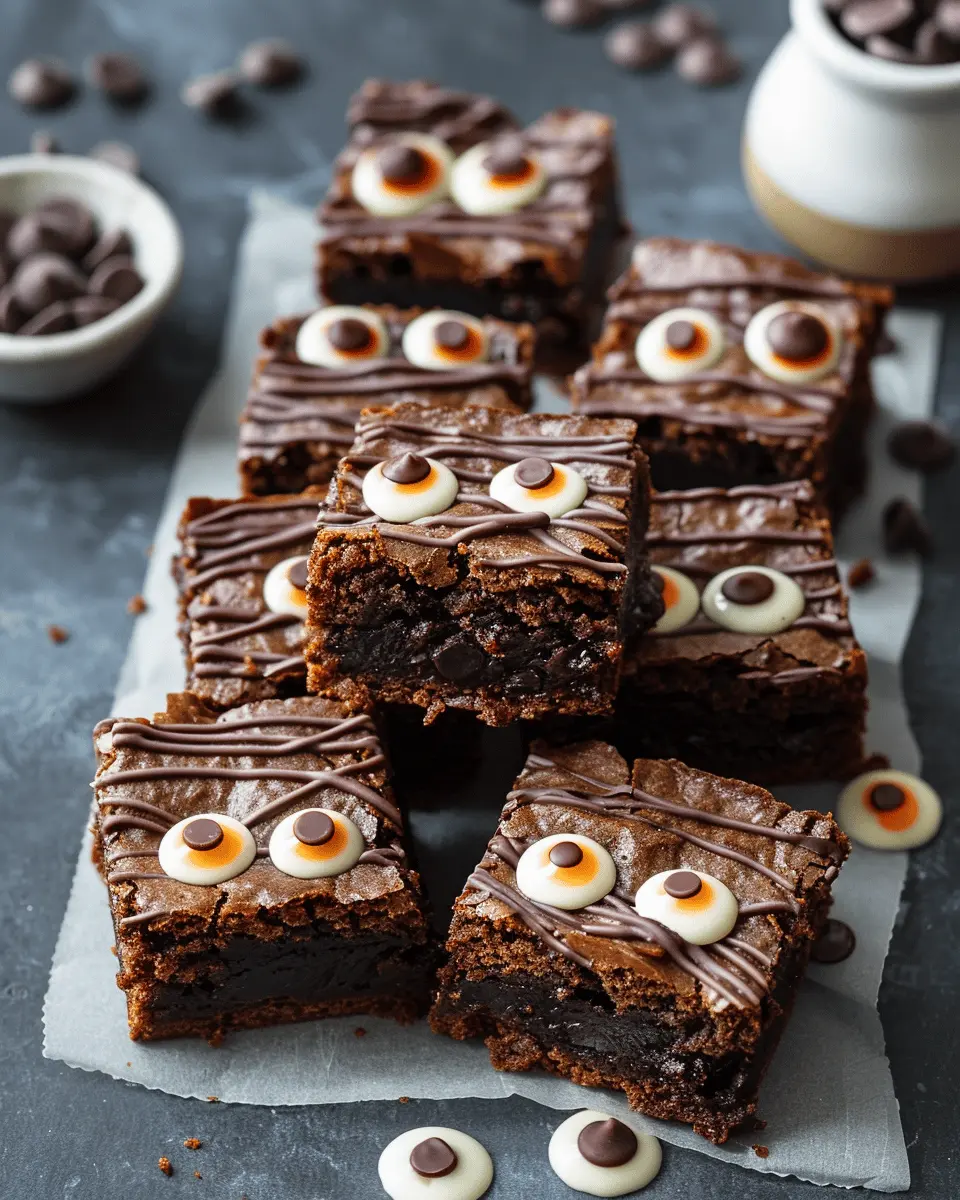
As the leaves begin to turn and the air becomes crisp, the feeling of fall starts to wrap around us like a warm blanket. It’s the perfect season for cozy gatherings, and what better way to celebrate than with delightful Mummy Brownies? These treats bring a fun, spooky twist to your dessert table and are perfect for Halloween parties or just for indulging during a movie marathon at home.
Why Mummy Brownies are the Perfect Fall Treat
Mummy Brownies aren’t just any brownies; they are a fun-filled adventure wrapped in chocolatey goodness. The blend of rich brownie texture and a whimsical design can lighten up any autumn day. Plus, who doesn’t love a delicious dessert that looks like it has come straight from a haunted kitchen?
When you think about fall treats, the list often includes pumpkin spice lattes and caramel apples. But let’s not forget the Mummy Brownies! They can easily become a seasonal favorite with just a few simple ingredients. All you need is your favorite brownie mix, some white candy melts, and candy eyes to bring these little ghouls to life.
Here’s why they stand out:
- Customization: Tailor the flavorings to your liking. Whether you prefer traditional chocolate or something adventurous like peppermint during the holidays, Mummy Brownies can morph to suit your taste.
- Family Fun: Invite friends or family over for a brownie-making session. Decorating these spooky brownies becomes a legendary bonding experience, filled with laughter and creativity.
- Easy to Make: They’re quick to whip up, making them ideal for busy professionals. With minimal prep time, you can whip up a batch before guests arrive.
In fact, studies show that engaging in fun cooking activities can foster connections and boost creativity. Plus, who doesn’t love showing off their culinary creations? For more unique fall dessert ideas, you might explore sites like Food Network or AllRecipes.
Embrace the spirit of the season with these charming Mummy Brownies, and let their divine decadence brighten your fall. Prepare to have your taste buds enchanted and your friends entertained!
Ingredients for Mummy Brownies
Creating the perfect Mummy Brownies is all about using the right ingredients. Here’s what you’ll need to whip up these spooky treats that are sure to be a hit at your next gathering!
Basic Brownie Ingredients
- 1 cup unsalted butter: This gives your brownies that rich, indulgent flavor.
- 2 cups granulated sugar: Adding the sweetness that everyone loves, balancing the cocoa beautifully.
- 1 cup cocoa powder: The star of our brownies; make sure to use high-quality cocoa for the best depth of flavor.
- 4 large eggs: These help bind everything together, adding moisture.
- 1 teaspoon vanilla extract: A must for enhancing all the flavors.
- 1 cup all-purpose flour: The base of your brownie batter, giving it structure.
Optional Festive Touches
- Turkey Bacon or Chicken Ham strips: If you’re feeling adventurous, a savory touch can create a unique contrast. Just be sure to cook them to a crisp before placing them on top!
- Candy eyes and white chocolate drizzle: For that ultimate Mummy Brownies vibe, choose candies that add charm and a bit of whimsy.
By selecting quality ingredients, you’ll elevate your brownies from ordinary to extraordinary. Need some more inspiration? Check out this resource for expert tips on baking! Now, get ready to impress your friends with these delightful Halloween treats!
Step-by-step Preparation of Mummy Brownies
Creating Mummy Brownies is not just about whipping up a delicious treat; it’s about bringing a festive spirit to your kitchen. These brownies are perfect for Halloween gatherings or just for a fun family night. Follow this simple guide to prepare these delightful desserts step-by-step, and watch as they transform from plain brownies to spooky delights!
Preheat the oven and prepare the brownie batter
Before you delve into the fun of decorating, you need to start with a solid foundation—your brownie batter.
- Preheat your oven to 350°F (175°C). This step ensures that your brownies bake evenly and achieve that perfect fudgy texture we all love.
- In a mixing bowl, combine 1 cup of unsalted butter and 2 cups of sugar, beating until creamy. This mixture should turn light and fluffy—don’t rush this; it can take a couple of minutes!
- Next, add in 4 large eggs (one at a time), along with 1 teaspoon of vanilla extract. You want to incorporate these ingredients thoroughly.
- In another bowl, sift together 1 cup of all-purpose flour, 1 cup of cocoa powder, ½ teaspoon of baking powder, and a pinch of salt. Slowly add the dry ingredients to the wet ingredients, mixing until just combined.
For a twist, consider adding some chocolate chips or nuts—this could elevate the flavor!
Bake and cool the brownies
Now that your batter is ready, it’s time to bake.
- Grease a 9×13 inch baking pan and pour your brownie batter into it, spreading it evenly.
- Bake in your preheated oven for 25-30 minutes. The brownies are ready when a toothpick inserted into the center comes out with a few moist crumbs attached.
- Once baked, remove the pan from the oven and let them cool completely on a wire rack. This cooling step is crucial; removing them too early can result in a gooey mess.
In case you’re curious about the science behind baking, check out resources from the American Chemical Society for some fascinating insights!
Cut the brownies into rectangles
With the brownies completely cooled, it’s time to get them ready for decoration.
- Using a sharp knife, cut the brownies into rectangles—you can decide the size, but bite-sized pieces work well. Think about serving size; everyone loves a little Mummy Brownie treat!
This is where you can start having fun. Try to keep your cuts straight and even for a neater presentation.
Melt the white chocolate or candy melts
Now for the magical part—melting the chocolate.
- In a microwave-safe bowl, place 1 cup of white chocolate chips or candy melts. Heat in the microwave in 30-second intervals, stirring between each, until completely melted and smooth. You want a velvety texture that you can easily drizzle over your brownies.
Why not try flavored melts for a special twist?
Drizzle the white chocolate on the brownies
Once your white chocolate is perfectly melted, it’s time to get creative.
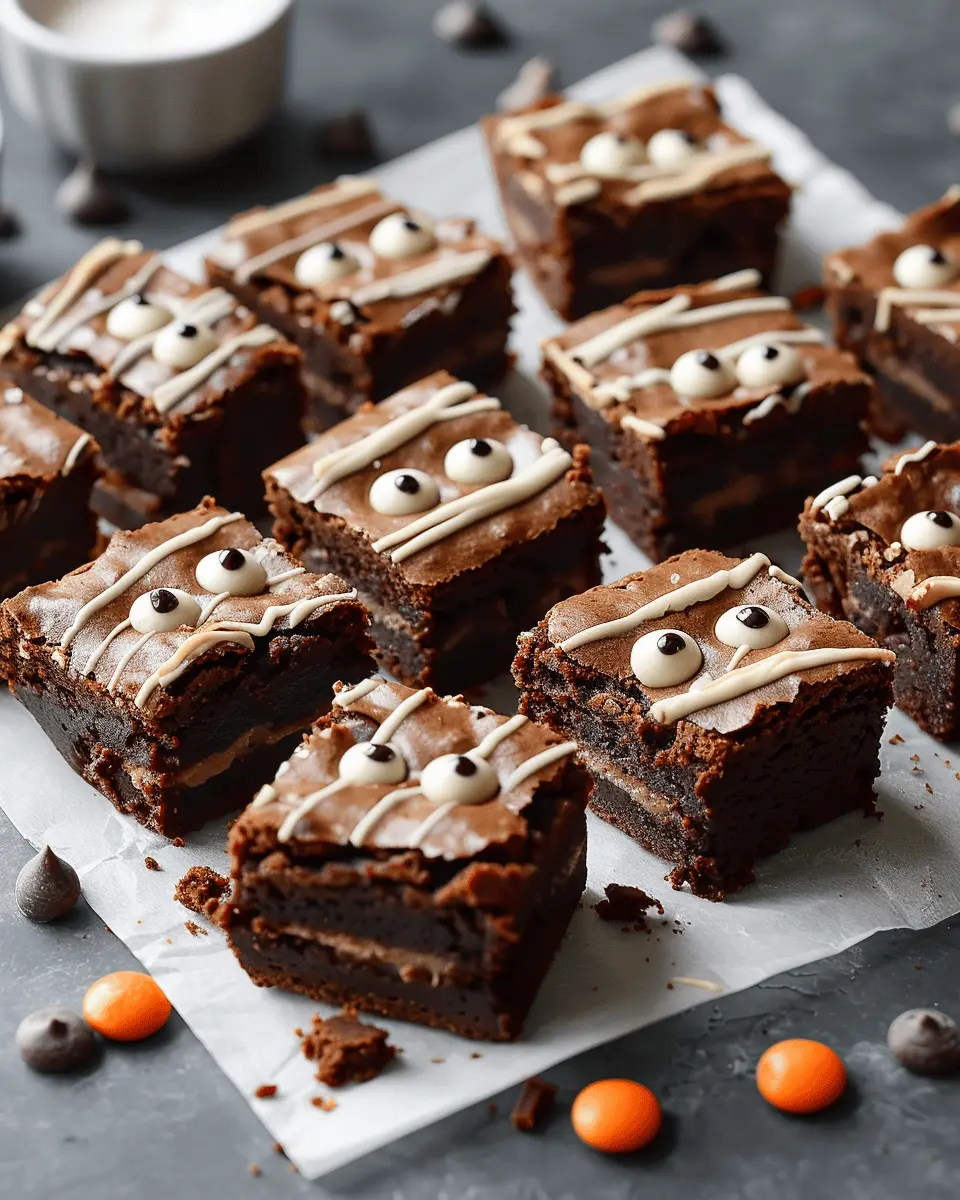
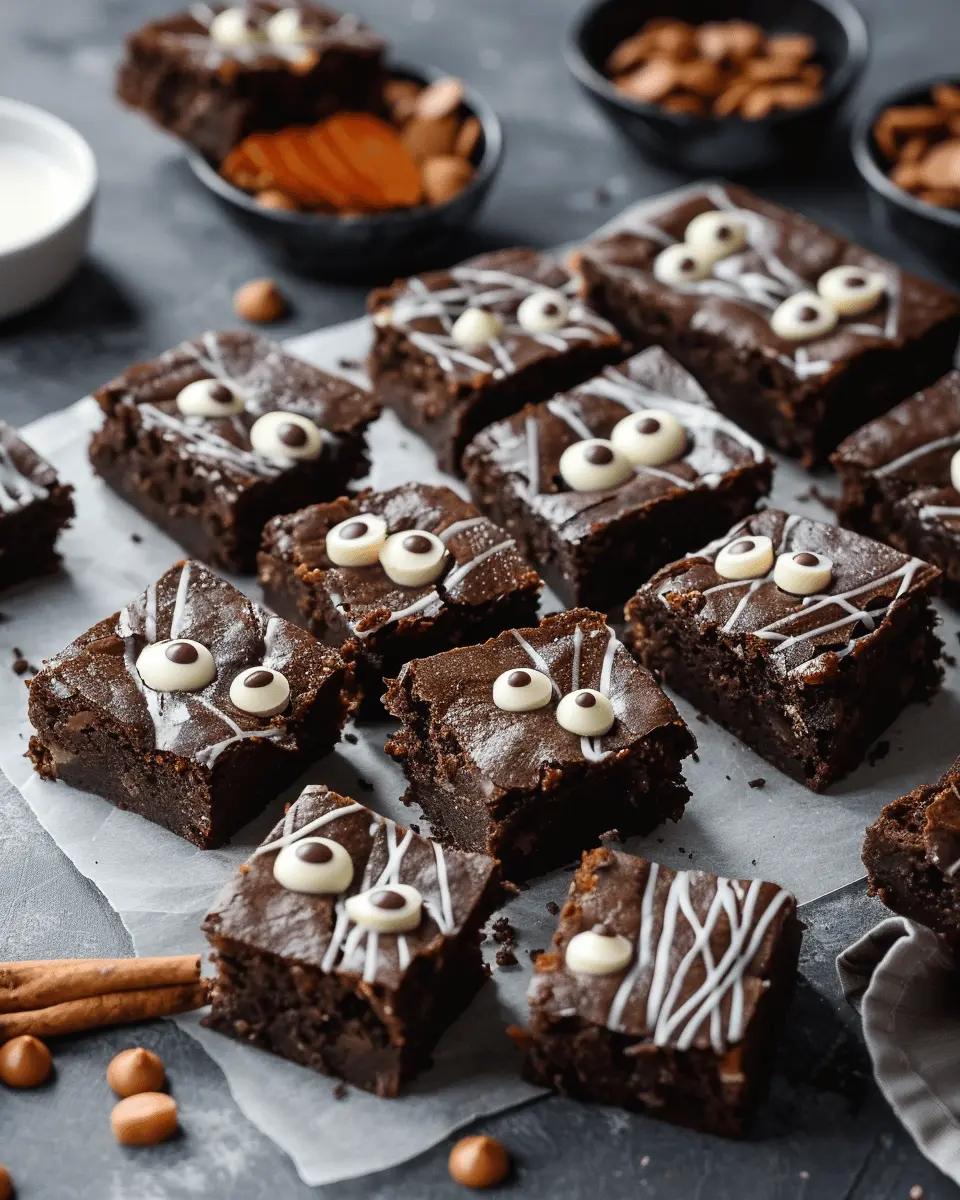
- Using a spoon or a piping bag (or even a plastic sandwich bag with the corner snipped off), drizzle the melted white chocolate over your brownie rectangles to create the “mummy wraps.” Aim for a zigzag pattern for that authentic mummy look.
This part is fun and totally customizable!
Add the mini candy eyes and gel icing
Finally, complete your Mummy Brownies with some adorable details.
- Place two mini candy eyes on each brownie to give them character. You can find these at most grocery stores or make a quick trip to a local baking supply shop.
- Use black gel icing to draw a small mouth or additional detailing, like “bandages,” enhancing the mummy effect.
You may want to enlist some help for this fun final touch—let your friends or family join in on the decorating!
With these simple, step-by-step instructions, your Mummy Brownies are sure to impress everyone at your next Halloween party or just make for a fun day in the kitchen. Enjoy this spooky treat and share the joy of baking!
Fun Variations of Mummy Brownies
Who said Halloween treats have to be one-dimensional? Let’s get creative with some fun variations of Mummy Brownies that will surely delight your friends and family!
Mummy Brownies with Peanut Butter Swirls
If you’re a peanut butter lover, this will be your new favorite indulgence! After you pour the brownie batter into your pan, heat up some creamy peanut butter in the microwave until it’s slightly runny. Then, drizzle it over the brownie batter and use a knife to swirl it in. This adds a rich, nutty flavor that pairs beautifully with the chocolate and gives your Mummy Brownies a delicious twist. Plus, the combination of chocolate and peanut butter is truly a match made in heaven.
Gluten-free Mummy Brownies
For those of you who may be gluten-sensitive, don’t worry! You can still enjoy these spooky treats. Simply substitute regular flour with your favorite gluten-free flour blend. Brands like Bob’s Red Mill and King Arthur Flour offer great options that work seamlessly in brownie recipes. Nothing will stop you from celebrating Halloween with gluten-free Mummy Brownies that taste just as decadent and delicious!
Mummy Brownies with a Spicy Twist
If you’re feeling adventurous, why not add a spicy kick? Try incorporating a pinch of cayenne pepper or chili powder into your brownie mix for an unexpected heat. These spicy Mummy Brownies will surprise and delight your taste buds, offering contrast to the sweetness. Just remember, a little spice goes a long way, so start small and adjust to your personal heat preference!
Whether you’re crafting these for a party or just for yourself, these variations are sure to keep your Halloween sweet and fun. For even more tips on elevating your brownie game, check out Serious Eats for expert advice!
Cooking Tips and Notes for Mummy Brownies
Making Mummy Brownies is a fun and creative way to impress friends and family during the Halloween season. Here are some tips to ensure your brownie creation is nothing short of spook-tacular!
Choose High-Quality Ingredients
- Chocolate: Use high-quality chocolate for a richer flavor. Brands like Ghirardelli or Callebaut are great choices.
- Cocoa Powder: Opt for unsweetened cocoa powder to balance the sweetness in your brownies, enhancing the chocolate flavor.
Perfect the Texture
Consistency is key! For fudgy brownies, be careful not to overbake. Use a toothpick to test doneness; it should come out with a few moist crumbs, ensuring a gooey center.
Decorating the Mummy
When it comes to the Mummy Brownies design, piping melted white chocolate for the bandages can be tricky. Use a piping bag with a small tip or even a plastic sandwich bag with a corner snipped off for better control. It’s all about the details!
Serving Suggestions
Pair these delightful brownies with a scoop of vanilla ice cream or a dollop of whipped cream for an indulgent dessert. You can also check out this dessert pairing guide for more ideas!
Enjoy your Halloween festivities with these fun twists on brownies, and don’t forget to share your creations on social media!
Serving Suggestions for Mummy Brownies
Mummy Brownies are not just a delight for the taste buds; they’re also a versatile treat perfect for any spooky gathering or Halloween party. Here are some fun serving suggestions to elevate your Mummy Brownies experience!
Pair with Seasonal Treats
To create a festive dessert table, consider complementing your Mummy Brownies with:
- Pumpkin Spice Cookies: Their warm spices make a great pairing.
- Chocolate-Covered Pretzels: The crunch balances the dense brownie texture.
- Ghost Marshmallows: A great visual addition to enhance the spooky theme.
Serve with Creative Beverages
Match your Mummy Brownies with some delightful drinks. How about:
- Apple Cider: Its sweetness pairs wonderfully with the brownie’s richness.
- Hot Chocolate: An indulgent, cozy option for chilly Fall evenings.
Fun Presentation Ideas
Get creative with presentation! Try:
- Serving them on a spooky platter or Halloween-themed dish.
- Adding some dried fruit or nuts to bring color around the edges.
These ideas can transform your simple Mummy Brownies into a centerpiece for your next gathering. For more on exciting pairing suggestions, check out tips from The Food Network. Enjoy the festivities!
Time Breakdown for Mummy Brownies
Preparing your delightful Mummy Brownies boils down to just a few key time frames, ensuring a spooky treat without consuming your whole day!
Preparation time
Getting started is easy! Set aside about 15 minutes to gather your ingredients and mix up the brownie batter. You’ll have the base ready in no time, making this step feel like a brief warm-up for the sweet rewards ahead.
Baking time
Next, pop those delicious brownies into the oven for about 25-30 minutes. This is where the magic happens — the aroma will fill your kitchen and get everyone anticipating your spooky creation.
Cooling time
Once they’re out of the oven, let your brownies cool for about 20 minutes. This cooling period is essential, especially if you want to frost them without the icing sliding off!
Total time
Overall, from prep to delectable bite, you’re looking at around 1 hour and 5 minutes. So, gather your friends and family, and get ready to share delicious Mummy Brownies that everyone will love! For additional tips on timing and serving suggestions, check out resources like AllRecipes or Food Network.
Nutritional Facts for Mummy Brownies
When indulging in Mummy Brownies, understanding their nutritional content can help you enjoy them guilt-free. Here’s a friendly breakdown of what you’re savoring:
Calories
A typical serving of Mummy Brownies contains approximately 200 calories, making them a delightful yet balanced treat for your sweet craving.
Sugar
These brownies can have about 15 grams of sugar per serving, so it’s wise to enjoy them in moderation, especially if you’re watching your sugar intake.
Fat
With around 10 grams of fat per serving, this treat includes a mix of healthy fats, particularly if you use high-quality ingredients.
For more on healthy dessert choices, check out this Nutritional Guidelines article for a deeper dive into balanced eating habits!
FAQs about Mummy Brownies
Can I use homemade brownie mix?
Absolutely! Using your homemade brownie mix for Mummy Brownies is a fantastic idea. You can control the ingredients and customize the flavors to suit your tastes. If you’re following a specific recipe, just adjust the baking time according to the instructions for your mix. This flexibility makes it a fun project, allowing you to add unique twists like nuts or spices.
How should I store leftover Mummy Brownies?
Storing your delicious Mummy Brownies is easy, and proper storage helps maintain their freshness. Here are some tips:
- Refrigeration: Place the brownies in an airtight container in the fridge for up to a week. This will help keep them moist.
- Room Temperature: If you prefer them at room temperature, they can last for about 3-4 days. Just make sure they’re in a sealed container to avoid any drying out.
- Freezing: Want to save some for later? Wrap individual brownies in plastic wrap, then place them in a freezer-safe bag. They can stay good for up to three months!
Can I make Mummy Brownies ahead of time?
Definitely! Preparing your Mummy Brownies in advance is not only convenient, but it also allows the flavors to meld beautifully. You can bake them a day or two ahead and store them, as mentioned above. If you’re planning for a party or gathering, this can alleviate last-minute stress. Plus, you can wait until closer to your event to add the decorating touches, ensuring those adorable mummy faces are fresh and cute when you serve them.
For more storage tips and baking inspirations, feel free to check out sources like Food Network for expert advice!
Conclusion on Mummy Brownies
Mummy Brownies are not just a delicious treat; they add a fun and festive touch to your gatherings, perfect for impressing friends or celebrating special occasions. With their rich chocolate flavor and charming presentation, these brownies are sure to become a staple in your recipe arsenal.
You can easily customize them by adding nuts, different icing, or even swapping in a gluten-free mix. Plus, they pair wonderfully with a variety of beverages, making them versatile for every palate. If you’re looking for a sweet conversation starter, look no further!
Check out this guide on party treats for more inspired ideas.
PrintMummy Brownies: The Easy, Indulgent Treat You’ll Love
A delightful and spooky treat perfect for Halloween gatherings.
- Prep Time: 15 minutes
- Cook Time: 30 minutes
- Total Time: 45 minutes
- Yield: 12 servings 1x
- Category: Dessert
- Method: baking
- Cuisine: American
Ingredients
- 1 cup all-purpose flour
- 1/2 cup cocoa powder
- 1 cup granulated sugar
- 1/2 cup unsalted butter, melted
- 2 large eggs
- 1 teaspoon vanilla extract
- 1/2 teaspoon baking powder
- 1/4 teaspoon salt
- 1 cup chocolate chips
Instructions
- Preheat the oven to 350°F (175°C) and grease a baking pan.
- In a mixing bowl, combine flour, cocoa powder, baking powder, and salt.
- In another bowl, whisk together eggs, sugar, melted butter, and vanilla extract.
- Gradually mix the dry ingredients into the wet ingredients until well combined.
- Fold in chocolate chips.
- Spread the batter into the prepared baking pan and bake for 25-30 minutes.
- Allow to cool before decorating with icing to create mummy designs.
Notes
- For a more festive look, use candy eyes.
- Adjust the sweetness by adding more or less sugar.
Nutrition
- Serving Size: 1 brownie
- Calories: 200
- Sugar: 15g
- Sodium: 150mg
- Fat: 10g
- Saturated Fat: 6g
- Unsaturated Fat: 4g
- Trans Fat: 0g
- Carbohydrates: 25g
- Fiber: 2g
- Protein: 3g
- Cholesterol: 35mg
Keywords: Mummy Brownies, Halloween treats, easy recipes