Introduction to Milk Mochi Recipe
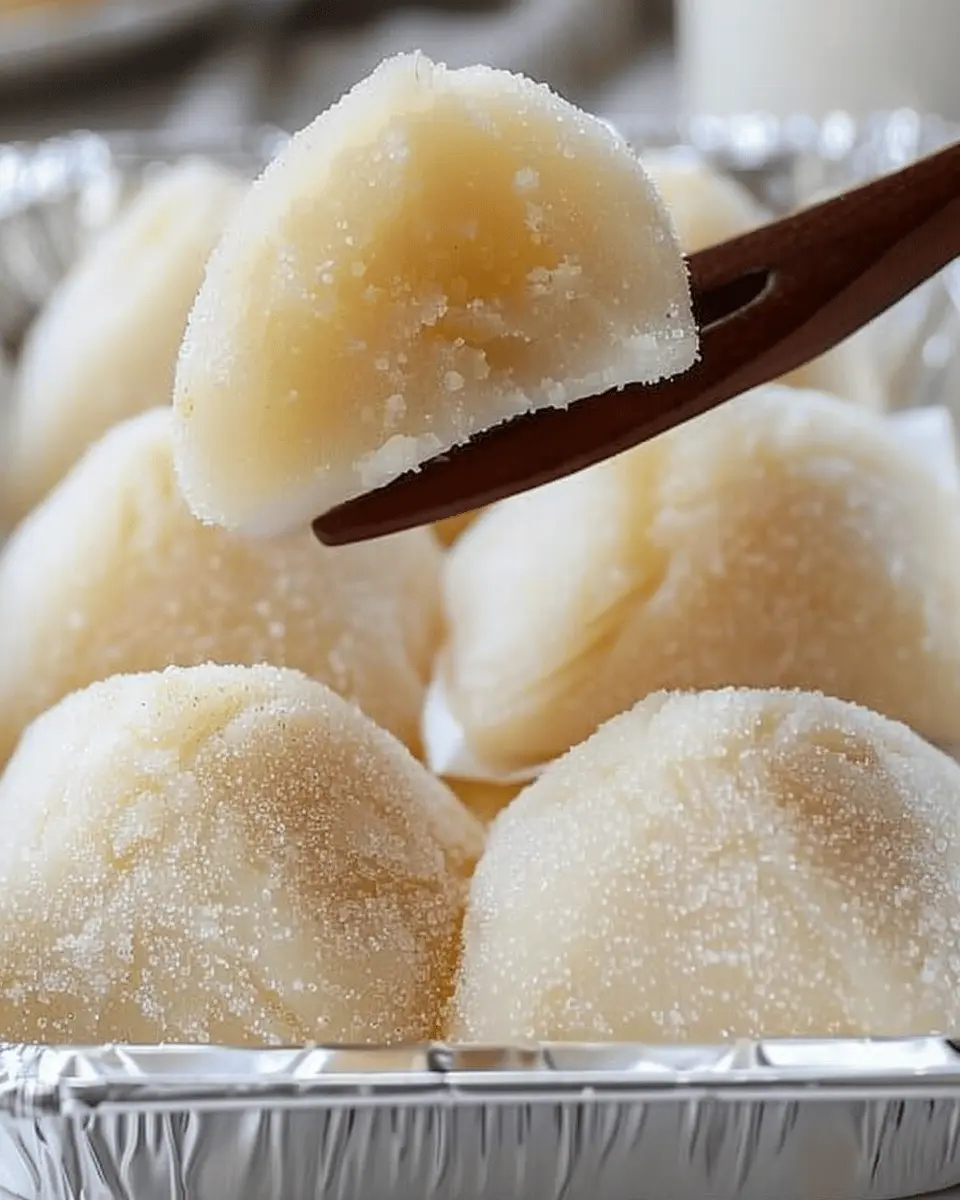
If you’re looking for a sweet, chewy treat that is not only delicious but also fun to make, you’ve landed in the right place with this milk mochi recipe. You might wonder, what exactly is mochi? This traditional Japanese delicacy, made from glutinous rice, boasts a unique texture and can be filled or topped with an assortment of flavors. The addition of milk to the recipe elevates the taste, making it both creamy and delightful.
Why Milk Mochi Is a Delightful Treat?
So, what makes milk mochi such a fan favorite? First off, the texture is incredibly satisfying. The chewiness of the mochi combined with a creamy flavor profile offers an indulgent experience that’s hard to resist. Because it’s gluten-free, mochi opens the door to a wide array of people who can enjoy this treat without dietary restrictions. Plus, you can customize your milk mochi with different fillings or toppings, catering to every palate—sweet, savory, or even fruity!
Consider these enticing factors:
- Versatility: You can play around with flavors—try filling your mochi with fruit preserves, sweetened bean paste, or even ice cream for a delightful twist.
- Cultural Experience: Making mochi can be a fun way to engage with Japanese culture. If you’re keen to explore international cuisine, this is a delightful start.
- Celebration and Sharing: Mochi is often enjoyed during festivals and special occasions. Why not share your homemade milk mochi with friends at your next gathering?
Many home cooks and professionals agree that the process of making mochi can be therapeutic. Kneading the rice and shaping the mochi brings a sense of accomplishment, especially when you see the smiles on your friends or family’s faces when they sample your creation.
If you’re intrigued (and who wouldn’t be?), this blog will guide you through the entire process—from gathering ingredients to mastering the technique. Soon, you’ll be impressing everyone with your own delicious milk mochi creations. And if you’re on the lookout for a good source of glutinous rice flour or other ingredients, be sure to check trusted websites like King Arthur Baking or Amazon for convenient sourcing.
Ready to dive in? Let’s create something sweet together!
Ingredients for Milk Mochi
Creating your own milk mochi at home is not just enjoyable; it’s also surprisingly simple! To kick things off, let’s gather the essential ingredients that will bring your mochi dreams to life.
The Essentials
- Sweet Rice Flour: Also known as glutinous rice flour, this is the core ingredient that gives mochi its unique chewy texture. You can usually find this at Asian grocery stores or online (check Amazon).
- Milk: Use your favorite variety—whole, almond, or coconut—depending on your dietary preferences. This is where the flavors truly come into play.
- Sugar: Regular granulated sugar works perfectly; it helps to sweeten your mochi while balancing the flavors.
- Cornstarch: A must for dusting! It prevents the mochi from sticking to your hands and surfaces.
- Vanilla Extract: For that extra hint of flavor, vanilla will elevate your milk mochi recipe to the next level.
Optional Add-ins
- Matcha Powder: If you’re feeling adventurous, add a teaspoon of matcha for a delightful twist.
- Fruit: Small bits of strawberries or mango can provide a fresh burst of flavor.
Gather these ingredients, and you’re well on your way to creating a delicious and delightful milk mochi that will impress your friends and keep you snacking happily. Don’t forget to check Serious Eats for more tips and tricks on perfecting your mochi!
Preparing Milk Mochi
Making milk mochi is a delightful experience. Not only does it yield an irresistible treat, but it’s also fun and rewarding. Let’s dive into the steps that will take you from raw ingredients to enjoying your homemade mochi!
Gather Your Ingredients
The first step to crafting the perfect milk mochi is assembling your ingredients. You’ll need:
- Glutinous rice flour: This is the star ingredient that gives mochi its unique chewy texture.
- Milk: Whole milk or any milk alternative you prefer will do just fine.
- Sugar: Regular granulated sugar sweetens the dough.
- Cornstarch: This is essential for dusting and prevents your mochi from sticking.
- Optional flavorings: Think vanilla extract or matcha powder for a bit of flair.
Having everything ready will streamline the process. You can find glutinous rice flour and other specialty items at most Asian grocery stores, or check out online retailers like Amazon for convenience.
Mixing the Batter
Next up, let’s blend these ingredients to create your milk mochi recipe batter. In a mixing bowl, combine the glutinous rice flour, sugar, and a pinch of salt. Then, gradually add the milk while whisking to avoid lumps. The mixture should be smooth and slightly thick, similar to pancake batter. If you want to try something unique, consider folding in some matcha or powdered fruit for a creative twist—how about strawberry or taro?
Cooking the Mochi Mixture
Now it’s time to cook the mixture. You can either steam or microwave it. If you’re opting for steaming, get a steamer ready with parchment paper at the bottom (this prevents sticking). Pour the batter into a heatproof dish, cover it with a clean cloth, and steam for 20–30 minutes. If using a microwave, transfer the batter to a microwave-safe dish and cook in 1-minute intervals, stirring in between, until it’s fully cooked and translucent (this typically takes about 3-4 minutes).
Cooling and Kneading the Dough
Once your mochi mixture is cooked, let it cool for a few minutes at room temperature. Trust me; you want to avoid burning your hands! Once it’s cool enough to handle, sprinkle your work surface generously with cornstarch and transfer the mixture there. Flour your hands too to prevent sticking, and start kneading the dough. Knead for about 5-10 minutes until it becomes smooth and elastic. This is where the magic happens, and you’ll start to see that wonderful chewy texture form.
Shaping the Mochi
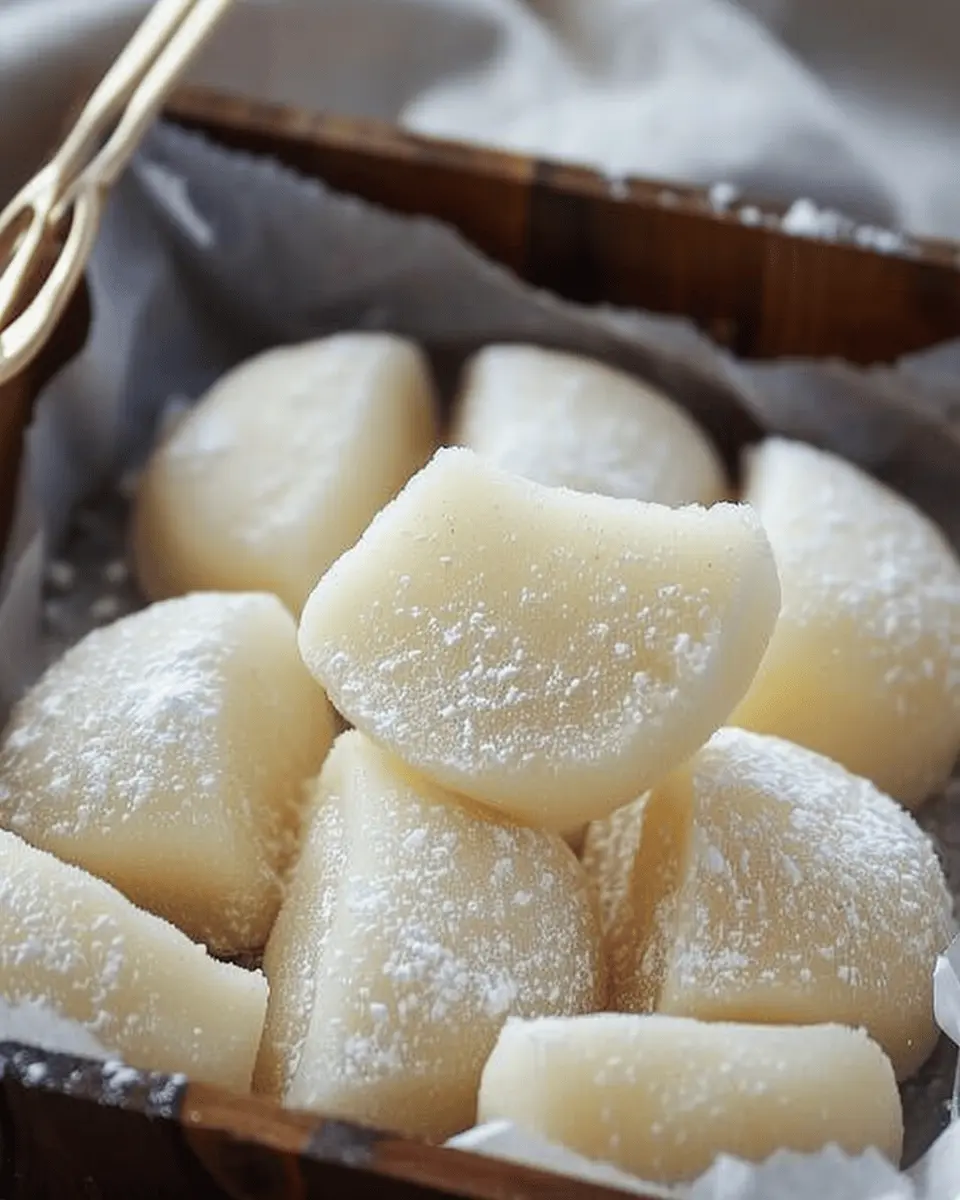
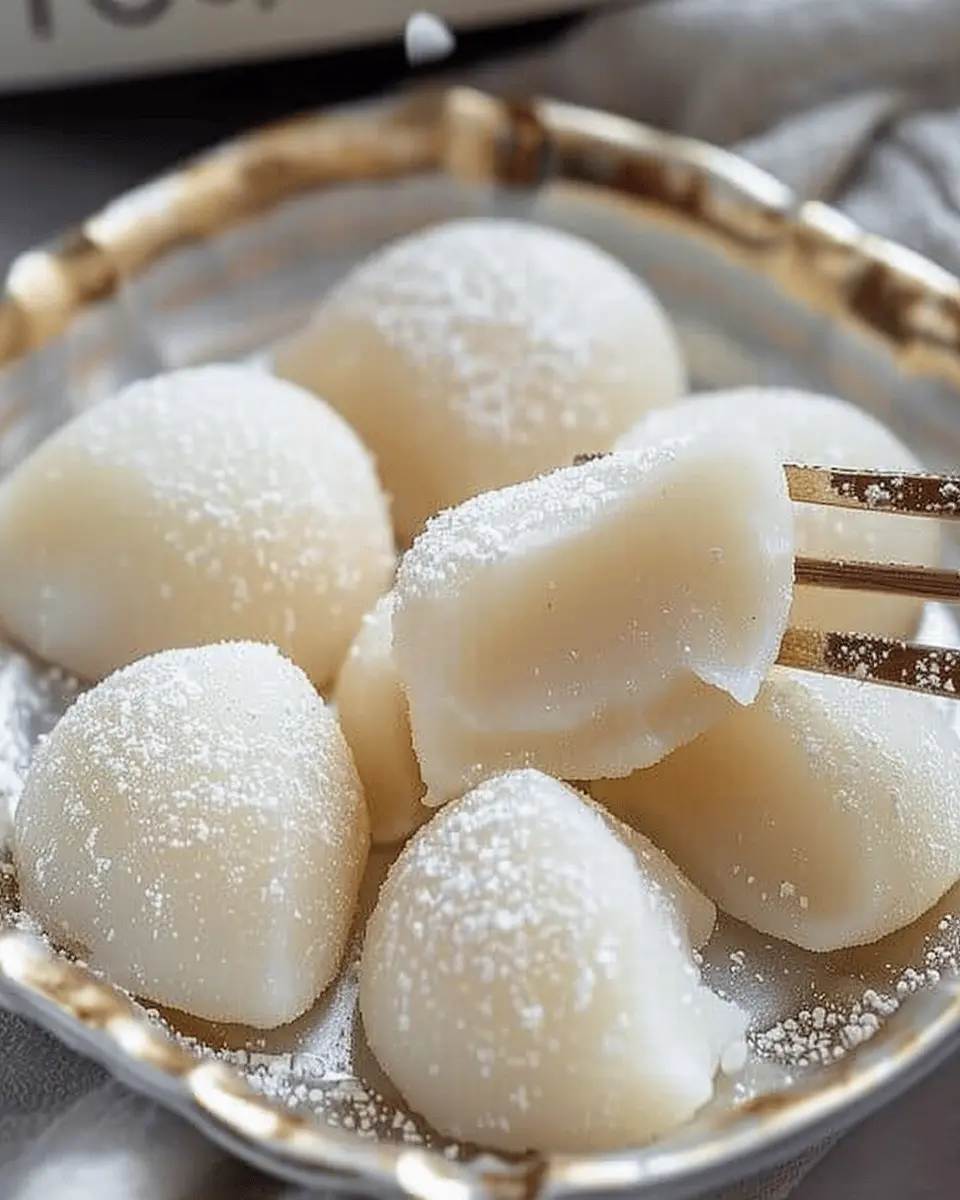
Now comes the fun part: shaping your milk mochi! Divide the dough into small portions, aiming for a rustic, bite-sized shape. Using your fingers, flatten each piece into a small disc. Feel free to be creative; you can shape them into balls, squares, or even fun shapes using cookie cutters. This is where your personality can shine through—the more fun, the better!
Coating the Pieces
To finish off your mochi, give each piece a nice dusting of cornstarch to prevent them from sticking together. You can also roll them in coconut flakes, crushed nuts, or even powdered sugar for added flavor and texture.
To serve, consider pairing your milk mochi with fresh fruits or drizzling a bit of chocolate sauce over them—yum! The beauty of mochi is that it’s versatile.
Enjoy your homemade milk mochi, and share your creations online! If you have questions or want to share your variations, the comments section is always open! Happy cooking!
Variations on Milk Mochi
Creating your own milk mochi opens the door to a delightful world of flavors. While the traditional recipe is undoubtedly delicious, why not explore some exciting variations that can cater to your taste buds? Here are two fantastic options to consider!
Fruity Milk Mochi Options
Fruity milk mochi is a refreshing twist, perfect for warmer days or when you’re craving something light and vibrant. Adding fruit can enhance the natural sweetness and add an appealing burst of flavor. Here are some ideas:
- Mango: Incorporate mango puree for a tropical flair. Just blend ripe mangoes and mix them into your milk mochi batter.
- Strawberry: Mash fresh strawberries or use strawberry puree. It not only tastes great but also gives a lovely pink hue!
- Matcha and Blueberry: For a unique combination, try matcha powder with fresh blueberries. The earthy taste of matcha balances beautifully with the tartness of blueberries.
If you want more on how to incorporate these fruits, check out this guide on using fruit in sweet recipes.
Chocolate Milk Mochi
Who can resist chocolate? This variation is especially loved by chocolate enthusiasts. The process is simple; just add cocoa powder or melted chocolate into your milk mochi recipe. Here’s how to do it:
- Cocoa Powder: For a rich, chocolatey flavor, add 2-3 tablespoons of unsweetened cocoa powder into your dry ingredients.
- Melted Chocolate: If you prefer a gooey texture, fold in melted dark chocolate into the dough. This will not only add flavor but also richness.
Each of these delicious variations ensures you never get bored of your milk mochi recipes. With a splash of creativity, your mochi can be a personalized treat that impresses at any gathering. Happy experimenting!
Cooking Tips for Milk Mochi
Making a delicious milk mochi recipe can be a delightful experience, especially when you know a few handy tips to elevate your dish. Here are some useful pointers:
Choose the Right Flour
Using sweet rice flour is crucial for achieving that chewy texture. It’s different from regular rice flour, so be sure to pick up the right one. Look for brands like Mochiko, which many people swear by.
Keep Measurements Accurate
Precision is key in a mochi recipe. Make sure you measure your ingredients, especially the water and flour, meticulously. Too much water can make the mixture too sticky, while too little can result in a dry mochi.
Flavor Variations
Feel free to experiment with flavors! A dash of vanilla or a spoonful of matcha powder can add a delightful twist to your mochi. You can check out some flavor ideas on sites like Serious Eats.
Use Cornstarch
Dust your surfaces and mochi balls with cornstarch to prevent sticking. This also helps maintain the mochi’s shape once it’s rolled.
By keeping these tips in mind while following your milk mochi recipe, you’ll be on your way to crafting a delightful treat everyone will love. Happy cooking!
Serving Suggestions for Milk Mochi
Milk mochi is not just a delightful treat; it’s incredibly versatile! Whether you enjoy it on its own or as part of a larger dessert spread, here are some creative serving suggestions that will elevate your milk mochi recipe experience.
-
Accompanied by Fresh Fruit: Pair your milk mochi with slices of tropical fruits like mango, pineapple, or strawberries. The juicy freshness complements the chewy mochi texture perfectly.
-
Ice Cream Sundae: How about transforming your milk mochi into a luxurious dessert? Top it with a scoop of vanilla or matcha ice cream and drizzle with chocolate or caramel sauce for an indulgent sundae.
-
Sugar Dusting: For a minimalist approach, dust your mochi with powdered sugar or cocoa powder. It adds a nice visual appeal and enhances the flavor without overwhelming it.
-
Tea Time Treat: Serve your milk mochi alongside a steaming cup of herbal tea. The soothing warmth of the tea pairs beautifully with the cold, chewy mochi, creating a delightful contrast.
To learn more about pairing desserts with beverages, you can check out resources like the Tea Association of the USA. These suggestions should not only enhance your enjoyment but also inspire those around you to explore the delightful world of milk mochi!
Time Breakdown for Milk Mochi
When you’re ready to dive into this delightful milk mochi recipe, understanding the time involved can make your cooking experience smoother and more enjoyable. Here’s a quick look at what to expect:
Preparation Time
Gathering your ingredients and prepping takes about 15 minutes. This is the perfect time to set up your kitchen station and make sure everything is in order. Don’t forget to read through the recipe thoroughly—it’s crucial for a successful outcome!
Cooking Time
The cooking process for milk mochi takes approximately 30 minutes. You’ll be on your feet, keeping an eye on the mixture and ensuring it achieves that wonderful sticky consistency.
Total Time
In total, you’re looking at around 45 minutes from start to finish. This includes both preparation and cooking.
With just under an hour, you can whip up a batch of delicious milk mochi that’s bound to impress friends and family alike! For more insights on the health benefits of glutinous rice and mochi, consider checking out reputable resources like Healthline.
Whether it’s your first time or you’re a seasoned mochi maker, this time breakdown will help you plan accordingly, making your culinary adventure as delightful as the treat itself.
Nutritional Facts for Milk Mochi
Understanding the nutritional profile of your favorite treats can truly enhance your culinary experience. Let’s dive into the milk mochi recipe as we explore its nutritional facts.
Calories
A serving of milk mochi typically contains around 150-200 calories. This makes it a delightful yet indulgent snack option relative to other desserts.
Protein
One of the perks of milk mochi is that it provides approximately 3-5 grams of protein per serving. This can help keep you feeling full and satisfied!
Carbohydrates
In terms of carbohydrates, each serving generally has about 30-35 grams. While it’s not too high, it’s essential to enjoy it in moderation as part of a balanced diet.
For more detailed insights on the nutritional value of similar desserts, you might want to check out resources like NutritionData or MyFitnessPal.
FAQs about Milk Mochi
Can I store milk mochi?
Absolutely! Milk mochi can be stored easily to enjoy later. Wrap your mochi in plastic wrap or place it in an airtight container to prevent it from drying out. It’s best to keep it in the refrigerator, where it can stay fresh for up to a week. Just be sure to let it come back to room temperature before eating, as the texture and flavor are best when they’re not chilled.
What if I can’t find glutinous rice flour?
Ah, the quest for the perfect ingredient! If glutinous rice flour isn’t available at your local grocery store, you can often find it in Asian markets or online. However, if you’re really in a pinch, you might consider using tapioca flour or regular rice flour as a substitute. Just keep in mind that this will slightly alter the chewy texture of the finished product, but you’ll still have a tasty treat!
How can I make milk mochi vegan?
Eager to whip up a milk mochi recipe without animal products? No worries! You can easily make your mochi vegan by substituting regular milk with almond milk, coconut milk, or any other plant-based milk you prefer. Just ensure that any additives, like sweeteners or flavorings, are also vegan-friendly. This way, everyone can indulge in the delightful chewiness of mochi without compromise!
For more tips on making your own mochi variations, check out our guides on Asian dessert recipes and vegan snack ideas. Your kitchen adventures are just beginning!
Conclusion on Milk Mochi
Crafting your own milk mochi at home is not just about indulging your taste buds; it’s a wonderful way to connect with culinary traditions and enjoy a unique treat. This milk mochi recipe allows you to customize flavors, fillings, and even the texture to suit your preferences. Plus, it’s a fun activity to share with friends or family, making for memorable moments in the kitchen.
To enhance your experience, consider using different fillings like sweet red bean paste or fruity options. For more inspiration, check out resources like Serious Eats or BBC Good Food that delve deeper into the world of mochi. So gather your ingredients and get ready to delight in a chewy, sweet masterpiece!
PrintMilk Mochi Recipe: Indulgent Treat Perfect for Home Cooks
This Milk Mochi recipe is an indulgent treat that’s perfect for home cooks looking to impress with a delicious, chewy dessert.
- Prep Time: 10 minutes
- Cook Time: 5 minutes
- Total Time: 15 minutes
- Yield: 4 servings 1x
- Category: Dessert
- Method: Microwave
- Cuisine: Japanese
- Diet: Gluten-free
Ingredients
- 1 cup mochiko (sweet rice flour)
- 1 cup milk
- 1/2 cup sugar
- 1 tablespoon cornstarch
- 1/4 teaspoon salt
- 1 teaspoon vanilla extract
Instructions
- In a bowl, mix mochiko, sugar, cornstarch, and salt together.
- Add milk and vanilla extract to the dry ingredients and stir well until combined.
- Transfer the mixture to a greased microwave-safe dish.
- Cover and microwave for 1 minute, then stir and microwave for another minute.
- Repeat this process until the mixture is thick and sticky.
- Let it cool slightly before shaping into pieces.
- Dust with cornstarch to prevent sticking.
Notes
- Adjust the sweetness by adding more or less sugar.
- For a flavored mochi, add matcha powder or cocoa powder.
Nutrition
- Serving Size: 3 pieces
- Calories: 200
- Sugar: 12g
- Sodium: 15mg
- Fat: 5g
- Saturated Fat: 2g
- Unsaturated Fat: 3g
- Trans Fat: 0g
- Carbohydrates: 35g
- Fiber: 1g
- Protein: 3g
- Cholesterol: 10mg
Keywords: Milk Mochi, mochi recipe, dessert, Japanese dessert