Introduction to Garlic Bread Rolls
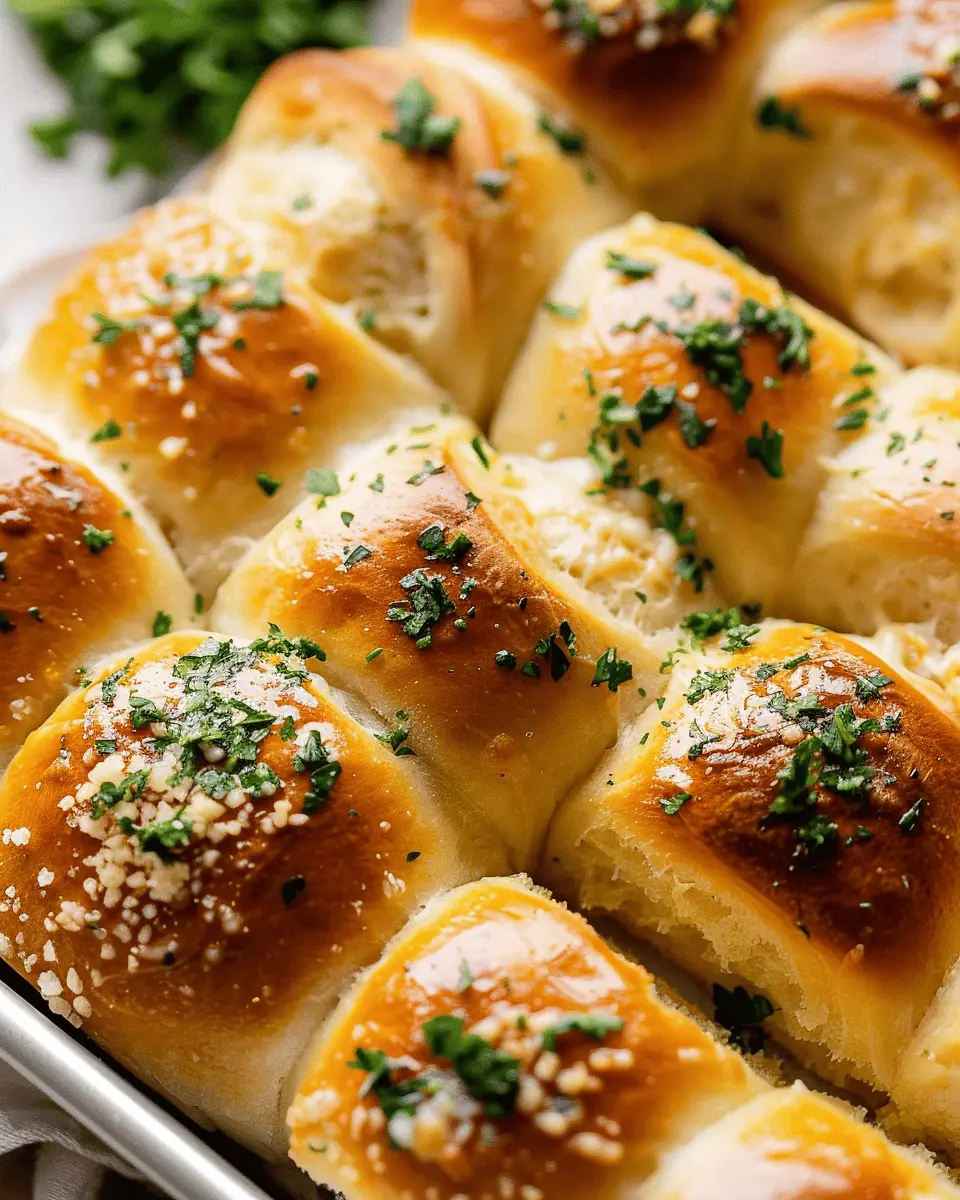
Garlic bread rolls are a delightful twist on a classic favorite, combining the comforting, warm embrace of freshly baked bread with the aromatic richness of garlic. Young professionals, in particular, will find this dish a perfect addition to their repertoire — whether it’s a quick weeknight dinner, a relaxed weekend gathering with friends, or simply a personal treat after a long day at work.
Why Garlic Bread Rolls are a Must-Try for Young Professionals
Let’s be real; life can get pretty hectic. Between juggling work commitments and social plans, finding time to cook can feel overwhelming. This is where garlic bread rolls step in as the ultimate culinary lifesaver. They’re not only easy to whip up, but they also cater to a range of occasions — from movie nights at home to potluck feasts at the office.
-
Quick and Simple: These rolls require minimal prep and cooking time. With just a handful of ingredients, they can be in the oven in less than 15 minutes. Imagine coming home and having the smell of buttery, garlicky goodness wafting through your kitchen!
-
Versatile Pairing: Garlic bread rolls make the perfect companion for various dishes. They can elevate your pasta, complement a fresh salad, or serve as a hearty snack on their own. Pair them with a robust vegetable soup or a refreshing green salad for a well-rounded meal.
-
Impressive Presentation: Even though they’re simple to make, these rolls look and smell incredible, making them an impressive addition to any table. Whether hosting a casual dinner or just wanting to elevate a simple meal, these rolls are sure to impress.
Did you know that garlic can offer numerous health benefits? Studies suggest it may help boost your immune system and even improve your heart health, which is another reason to incorporate it into your meals. For more insights on the benefits of garlic, check out resources like Healthline.
So, are you ready to give garlic bread rolls a try? They might just become your new go-to staple, adding a touch of warmth and flavor to your busy lifestyle!

The Essential Ingredients for Homemade Rolls
Creating the perfect garlic bread rolls at home requires just a handful of basic ingredients that blend beautifully to produce that irresistible taste. Let’s dive into what you’ll need:
- All-purpose flour: This is the foundation of your rolls. It provides that enticing chewy texture.
- Yeast: Active dry yeast is essential for making the rolls rise. Remember to check the expiration date; fresh yeast is key for successful baking.
- Salt: A pinch enhances the flavor, balancing the rich garlic and butter.
- Sugar: Just a teaspoon helps activate the yeast, giving your rolls that perfect fluffiness.
- Warm water: Not too hot, not too cold. This is what you’ll use to dissolve the yeast and kickstart the rising process.
- Garlic: Freshly minced adds an authentic flavor, but you can go for garlic powder if that’s what’s handy.
- Butter: Your rolls will require melted butter for that signature richness, and for brushing on top before serving.
By using these simple ingredients, you’ll be well on your way to crafting garlic bread rolls that impress friends and family alike. For more in-depth tips on maintaining your yeast, you might check out King Arthur Baking’s guide to yeast to ensure optimal results!
Preparing Garlic Bread Rolls
Whether you’re hosting a dinner party, gathering for a game night, or just cozying up on the couch with a good movie, garlic bread rolls are the perfect accompaniment to just about any meal. With their golden crust and buttery garlic goodness, these rolls are sure to impress your friends and family. Let’s walk through the steps to prepare these delightful treats!
Gather Your Ingredients
First things first—before you roll up your sleeves, make sure you have everything you need. Here’s a simple list of ingredients to whip up some delicious garlic bread rolls:
- 4 cups all-purpose flour
- 1 packet (2 ¼ teaspoons) active dry yeast
- 1 teaspoon salt
- 1 tablespoon sugar
- 1 cup warm water (about 110°F – check with a thermometer if you can)
- 1/2 cup unsalted butter (softened)
- 4-5 cloves of garlic (minced)
- Fresh parsley (chopped, optional)
- Grated Parmesan cheese (optional, for topping)
Having your ingredients ready not only speeds up the process but also makes it more enjoyable. Cooking is a joyful experience when you’re organized!
Make the Garlic Butter
Let’s talk flavor. The heart of these garlic bread rolls is the garlic butter. In a small bowl, mix together:
- Softened butter
- Minced garlic
- Chopped parsley (if using)
You can play with the quantities here—if you’re a garlic lover, feel free to add more! This garlic butter will not only be used for brushing, but it will also add wonderful flavor while the rolls are baking.
Combine Dry Ingredients
In a large mixing bowl, combine your dry ingredients: flour, yeast, salt, and sugar. Make sure to whisk them together to aerate the flour and evenly distribute the sugar and salt. This step ensures that your garlic bread rolls rise properly and have a delightful texture.
Mix and Knead the Dough
Next, it’s time to bring the ingredients together. Gradually add your warm water to the dry mixture, using a spoon or your hands to mix until a dough forms. Once it forms a cohesive ball, turn it out onto a floured surface and knead for about 8-10 minutes. Kneading is essential for gluten development, giving your rolls that soft and chewy texture. If you’re unsure about kneading techniques, check out this helpful guide on kneading dough.
Shape the Rolls
After kneading, shape the dough into a large ball, then divide it into equal portions (about 12 for average-sized rolls). Shape each portion into a small ball by pinching the edges together underneath. Place them seam-side down on a greased baking sheet, making sure to leave some space between them for rising. It’s like giving them a cozy little bed!
Allow to Rise
Now, let those little beauties rise! Cover the baking sheet with a clean kitchen towel and let the rolls rest in a warm place for about 30-40 minutes. You’re looking for them to double in size. This is a great time to preheat your oven to 375°F and get a little music going to keep the ambiance light and fun!
Bake the Rolls
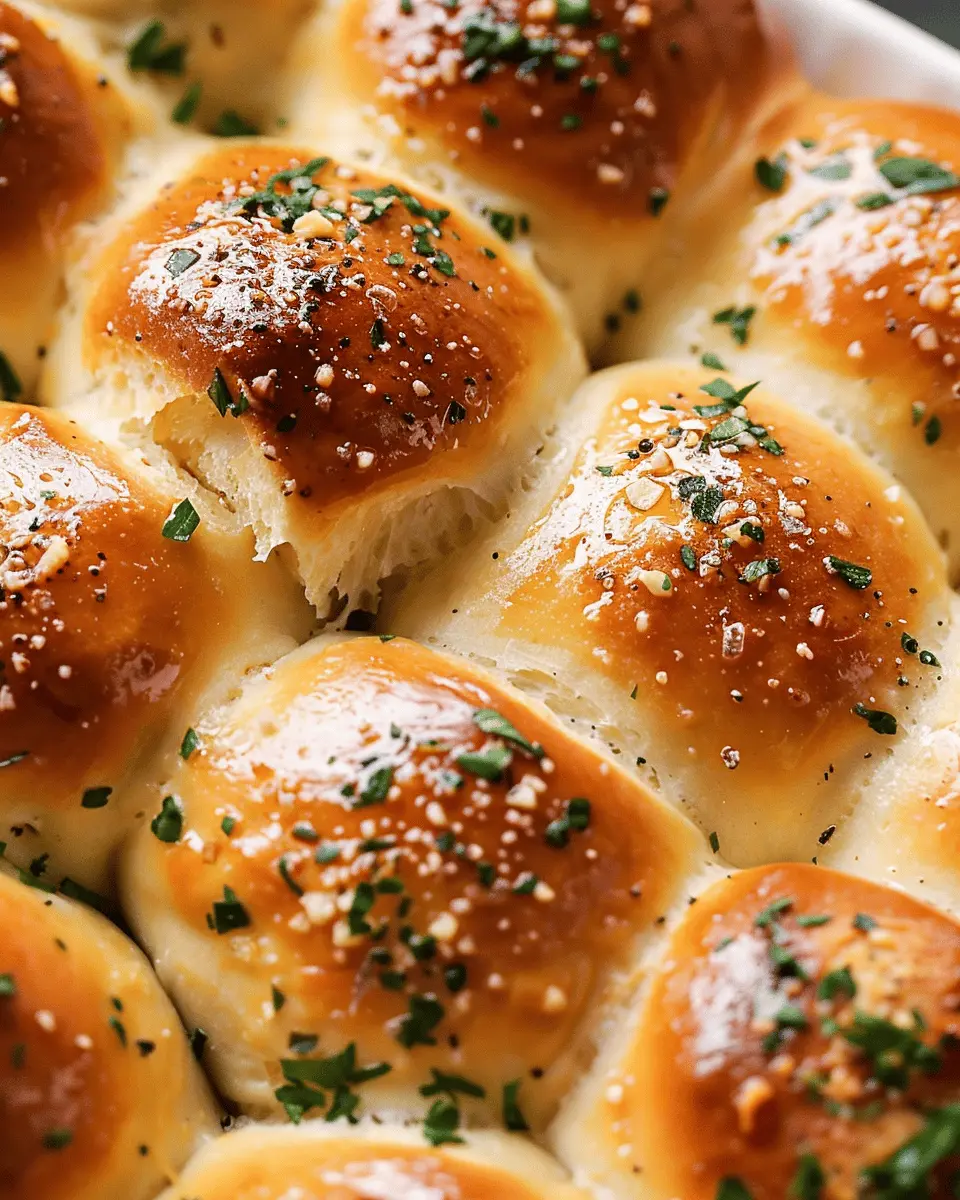
Once your garlic bread rolls have risen, brush them generously with the garlic butter mixture—don’t be shy! Bake in your preheated oven for 15-20 minutes, or until they’re golden brown. If you’re feeling adventurous, sprinkle some grated Parmesan cheese on top for that gourmet touch!
After removing them from the oven, let the rolls cool for a few minutes before diving in. Trust me, the aroma will fill your kitchen and have your mouth watering!
The joy of homemade garlic bread rolls is a testament to the love you put into cooking. So, what are you waiting for? Give these a try, and share your experiences! Your friends will be asking for seconds, guaranteed.
Variations on Garlic Bread Rolls
Garlic bread rolls are a delightful addition to any meal, and the best part? You can easily switch them up to suit your taste! Here are two mouthwatering variations that will elevate your garlic bread game.
Cheesy Garlic Bread Rolls
If you’re a cheese lover (who isn’t?), these cheesy garlic bread rolls will be your new go-to. Just imagine tearing into a warm roll, unveiling a gooey, cheesy center. Here’s how to make them:
- Ingredients: Follow your favorite garlic bread roll recipe and add shredded mozzarella or parmesan cheese into the dough before baking.
- Tips: Consider mixing herbs like thyme or oregano into the cheese for an extra flavor boost.
Not only do the cheesy rolls satisfy those late-night cravings, but they also pair perfectly with soups or salads. You can even serve them alongside a homemade marinara sauce for a fun dipping experience.
Herb-Infused Garlic Bread Rolls
For a fresher twist, try these herb-infused garlic bread rolls. The added herbs not only enhance the flavor but also make your kitchen smell amazing.
- Ingredients: Incorporate fresh herbs like parsley, basil, or rosemary into the dough.
- Preparation: You can also mix in some chopped sun-dried tomatoes or spinach to give a pop of color and nutrients.
These rolls are fantastic for a summer meal or picnic. Pair them with a refreshing lemon-herb dressing for a complete experience. To inspire your cooking further, refer to Serious Eats for herb pairing ideas.
So, whether you opt for the cheesy goodness or the fresh herb flavor, these variations on garlic bread rolls will surely impress your dinner guests and tantalize your taste buds!
Cooking Tips for Garlic Bread Rolls
Making delightful garlic bread rolls isn’t just about following the recipe; it’s also about understanding the process. Here are some tips to elevate your baking game!
Tips for Kneading the Dough
Kneading is vital in developing the dough’s texture. Aim for a smooth, elastic consistency, which usually takes about 8-10 minutes of kneading. If the dough gets sticky, sprinkle a bit of flour on your work surface. Remember, though, over-kneading can lead to tough rolls, so keep an eye on your dough! For a deeper dive into dough kneading techniques, check out this guide to bread making.
Ensuring Perfectly Baked Rolls
Baking at the right temperature is crucial for achieving golden-brown garlic bread rolls. Preheat your oven to 375°F (190°C) to ensure even baking. For that lovely soft interior and crispy exterior, place a pan of water at the bottom of the oven. This creates steam, which helps the rolls rise beautifully. Keep an eye on them; you want them to be golden, not burnt! Using a thermometer to check an internal temperature of 190°F can ensure they’re fully baked.
By focusing on these nuances, your garlic bread rolls will be delightful, fluffy treats that everyone will adore! For more baking inspiration, don’t forget to explore everyday baking tips.
Serving Suggestions for Garlic Bread Rolls
Pairing Garlic Bread Rolls with Meals
Garlic bread rolls are more than just delicious; they’re the ultimate sidekick to your favorite dishes. They pair beautifully with comforting meals like:
- Pasta: Whether it’s a classic marinara or a hearty Alfredo, these rolls are the perfect vessel for that rich sauce.
- Chicken or Beef Dishes: Serve them alongside roasted chicken or grilled beef for a delightful contrast of flavors.
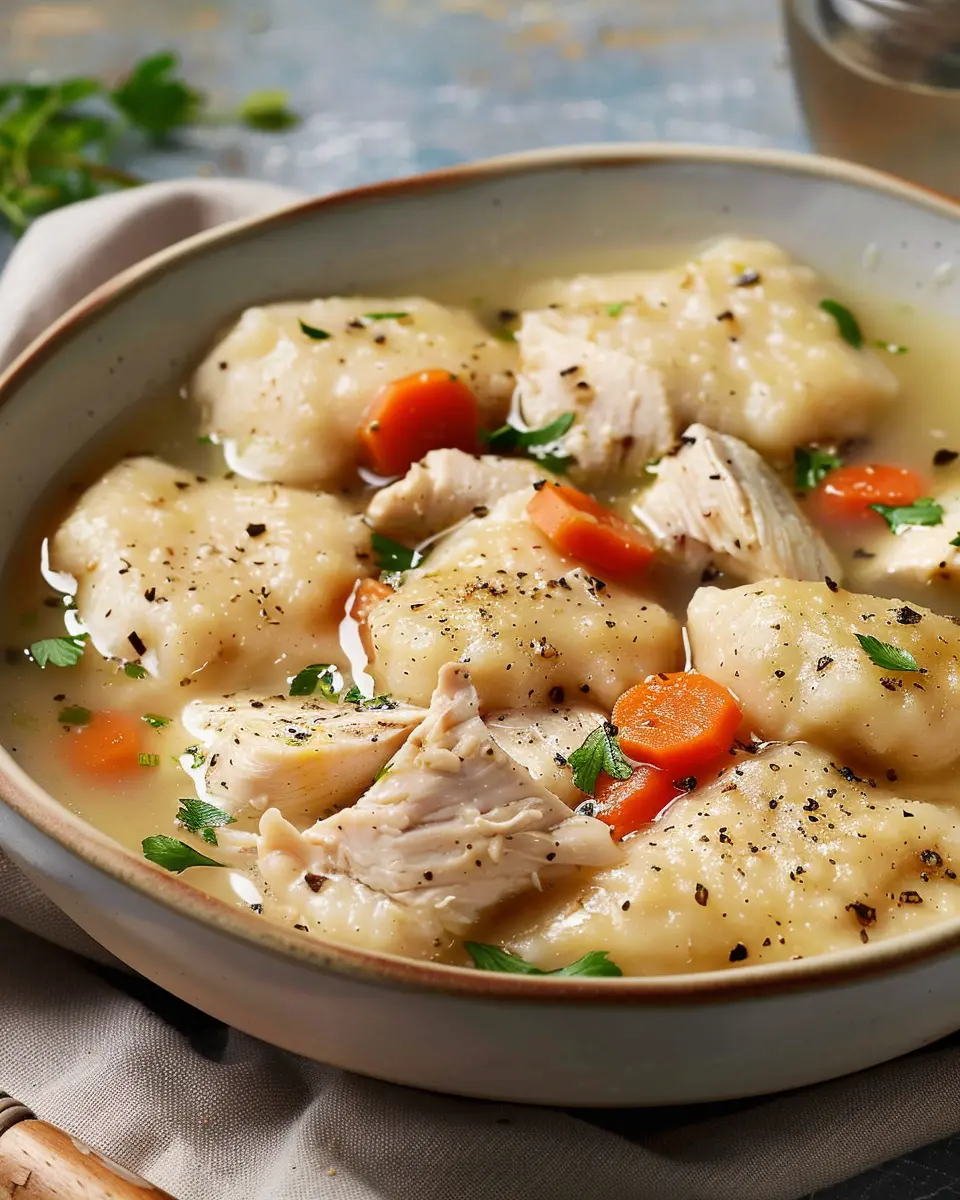
- Soups and Salads: Lighten up with a fresh garden salad or a warm soup, letting the garlic bread rolls complement these dishes wonderfully.
Ready for some tasty side options? Check out this Beef Stroganoff recipe to see how well they work together!
Creative Serving Ideas
Get a little creative with garlic bread rolls. Here are some fun serving ideas to elevate your dining experience:
- Dipping Station: Serve them with an assortment of dips like marinara, pesto, or a creamy herb dip.
- Sandwich Rolls: Slice them in half and stuff them with turkey bacon or chicken ham for a hearty, handheld treat.
- Brunch Delight: Serve warm rolls alongside scrambled eggs for a cozy weekend brunch.
These serving suggestions ensure your garlic bread rolls will never go unappreciated, making every meal a little more special.
Time Breakdown for Garlic Bread Rolls
When you’re ready to whip up some garlic bread rolls, timing is crucial! Here’s how the process breaks down:
Preparation Time
Getting everything ready takes about 20 minutes. This includes mixing your ingredients, kneading the dough, and prepping your garlic blend. Make sure to set aside that time to ensure your rolls come out perfect!
Rising Time
Patience is key here! Allow your dough to rise for about 1 hour. This step is essential for creating fluffy rolls, so find a cozy spot and let that yeast do its magic.
Baking Time
Once they’ve risen, pop your rolls in the oven for around 15-20 minutes. Keep an eye on them—they should be golden brown and smelling divine!
Total Time
All in all, you’re looking at approximately 1 hour and 40 minutes from start to finish. You can enjoy delicious homemade garlic bread rolls in less than two hours—a worth-it investment for such a delightful treat!
For more tips on mastering bread-making, check out resources like King Arthur Baking or Serious Eats.
Nutritional Facts for Garlic Bread Rolls
When you’re whipping up a batch of garlic bread rolls, it’s always helpful to be in-the-know about what those delicious little morsels bring to your table. Here’s a nutritional breakdown that can assist you in making informed choices:
Calories
Each serving of these garlic bread rolls typically contains around 150 calories. This makes them a great addition to your meal without tipping the balance of your daily caloric intake.
Protein
Looking for a bit of protein? You’ll find about 4 grams per roll. While they aren’t a primary protein source, pairing them with a protein-rich dish like a salad or roasted veggies can round out your meal beautifully.
Sodium
Sodium levels are something to keep in mind, especially for those watching their salt intake. You can expect approximately 300 mg of sodium in each roll. For tips on lowering sodium, consider using unsalted butter or fresh herbs.
For more information on nutrition and health benefits, check out the Mayo Clinic for comprehensive resources. Understanding what’s in your food not only enhances your culinary experience but also keeps you feeling your best!
FAQs about Garlic Bread Rolls
What can I use instead of fresh garlic?
If you find yourself without fresh garlic, don’t fret! There are plenty of great alternatives you can use in your garlic bread rolls. Here are some options to consider:
- Garlic Powder: This is a convenient substitute. Just use about 1/8 teaspoon of garlic powder for each clove of garlic. Keep in mind that it’s a bit more concentrated in flavor.
- Garlic Salt: You can use garlic salt instead of fresh garlic. Just be cautious with additional salt in your recipe since garlic salt contains sodium.
- Pre-minced Garlic: The jars of pre-minced garlic found in grocery stores are a great time-saver. Use them at a 1:1 ratio with fresh garlic.
- Garlic Oil: A drizzle of garlic-infused oil can add a lovely flavor, especially if you brush it on the rolls before baking.
Can I freeze the garlic bread rolls?
Absolutely! Freezing your garlic bread rolls is a fantastic way to enjoy them later. Simply let the rolls cool completely, wrap them tightly in plastic wrap, and then place them in an airtight container or freezer bag. They can be stored in the freezer for up to three months. To enjoy, just thaw them in the refrigerator overnight and reheat!
How do I reheat leftover garlic bread rolls?
Reheating your leftover garlic bread rolls is easy and will bring back their original deliciousness. Here are a couple of methods:
- Oven Method: Preheat your oven to 350°F (175°C). Wrap the rolls in foil and place them directly on the oven rack. Heat for about 10-15 minutes, or until warmed through.
- Microwave Method: If you’re in a hurry, place the rolls on a microwave-safe plate and cover them with a damp paper towel. Heat in 20-second intervals until warmed, being careful not to overdo it, as this can make the rolls tough.
By following these tips, you can keep your garlic bread rolls delicious and enjoyable anytime! For more tips on cooking and storing bread, check out resources from The Bread Baker’s Guild.
Conclusion on Garlic Bread Rolls
Embracing the Comfort of Homemade Food
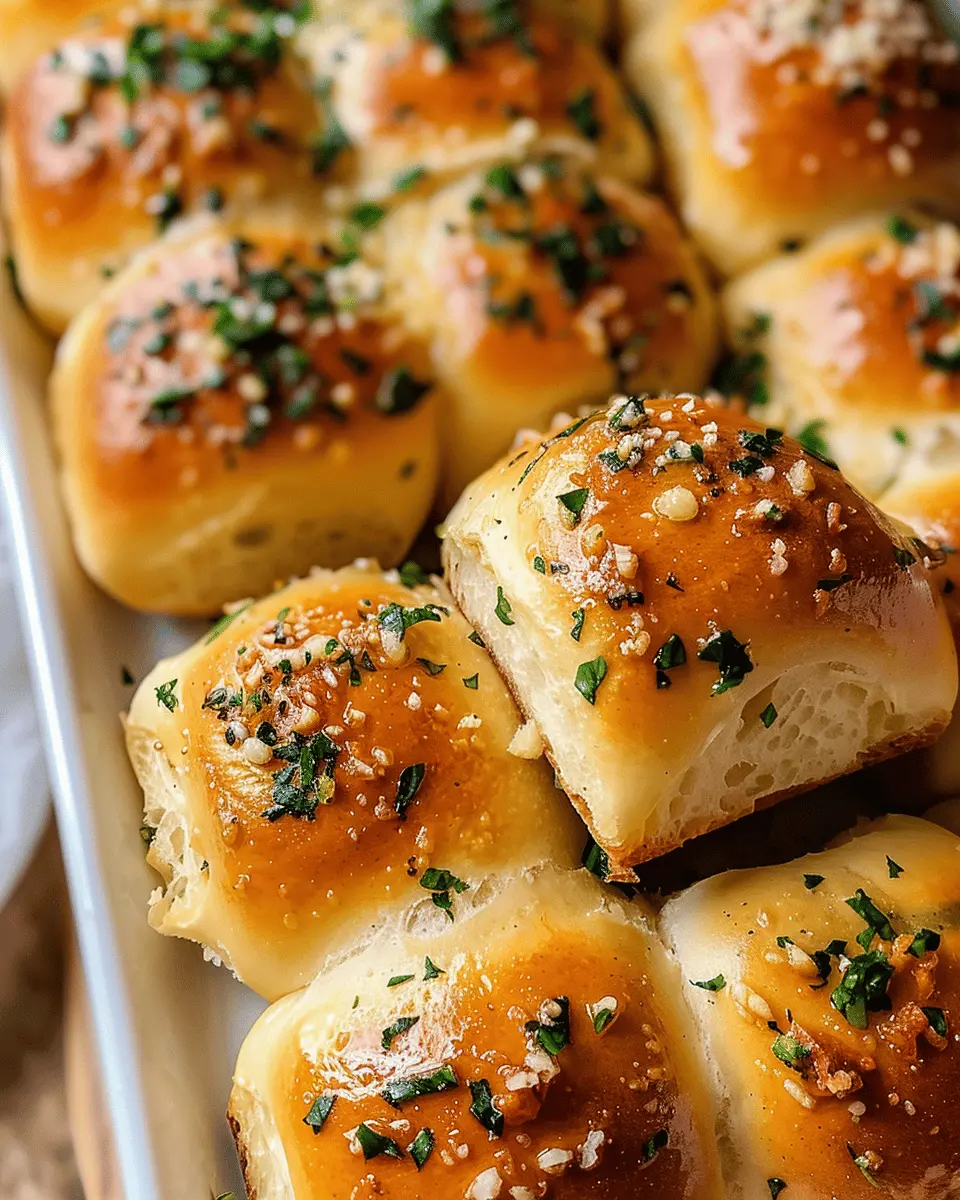
In the world of homemade cuisine, garlic bread rolls hold a special place. These delightful treats not only fill your kitchen with an enchanting aroma but also offer a comforting experience that can warm even the coldest of days. Making your own rolls allows you to adjust flavors, experiment with herbs, and enjoy the gratifying process of baking.
Imagine pulling a tray of golden-brown rolls from the oven, their buttery, garlicky goodness enticing everyone around. Whether served as a side with your favorite pasta or enjoyed on their own, they never disappoint.
So, why not embrace the joy of cooking? Your taste buds will thank you! For more insights on cooking with garlic, explore The Garlic Site for tips and recipes.
PrintGarlic Bread Rolls: The Best Homemade Treat for Any Meal
Discover the best homemade garlic bread rolls that complement any meal.
- Prep Time: 15 minutes
- Cook Time: 20 minutes
- Total Time: 1 hour 35 minutes
- Yield: 12 rolls 1x
- Category: Bread
- Method: Baking
- Cuisine: Italian
- Diet: Vegetarian
Ingredients
- 2 cups all-purpose flour
- 1 tablespoon sugar
- 1 teaspoon salt
- 1 packet instant yeast
- 1/2 cup warm water
- 1/4 cup unsalted butter, melted
- 4 cloves garlic, minced
- 2 tablespoons fresh parsley, chopped
Instructions
- In a mixing bowl, combine the flour, sugar, salt, and yeast.
- Add warm water and melted butter to the dry ingredients and mix until a dough forms.
- Knead the dough on a floured surface for about 5-7 minutes.
- Place the dough in a greased bowl, cover, and let it rise until doubled in size, about 1 hour.
- Preheat the oven to 375°F (190°C).
- Punch the dough down and shape it into rolls.
- Place the rolls on a baking sheet and let them rise again for 30 minutes.
- Mix the minced garlic and parsley with melted butter, then brush over the rolls.
- Bake for 15-20 minutes or until golden brown.
Notes
- For extra flavor, add cheese on top before baking.
Nutrition
- Serving Size: 1 roll
- Calories: 150
- Sugar: 1g
- Sodium: 200mg
- Fat: 7g
- Saturated Fat: 4g
- Unsaturated Fat: 2g
- Trans Fat: 0g
- Carbohydrates: 20g
- Fiber: 1g
- Protein: 3g
- Cholesterol: 15mg
Keywords: Garlic Bread Rolls